Park at Dusk Fall Table-Top Decoration

Capture the magic of an autumn evening in this table centerpiece!

Autumn Park Decoration Museiddity

Materials: Autumn Park Decoration materials Museiddity

  • Wooden Tray (for Base)
  • Moss of Your Choice for Ground Cover (I used a sheet of self-adhesive moss but did not remove the backing)
  • Brown-Paper Covered Floral Wire for Tree
  • Small Strand of Battery Operated Lights (I suggest the kind with a built-in timer)
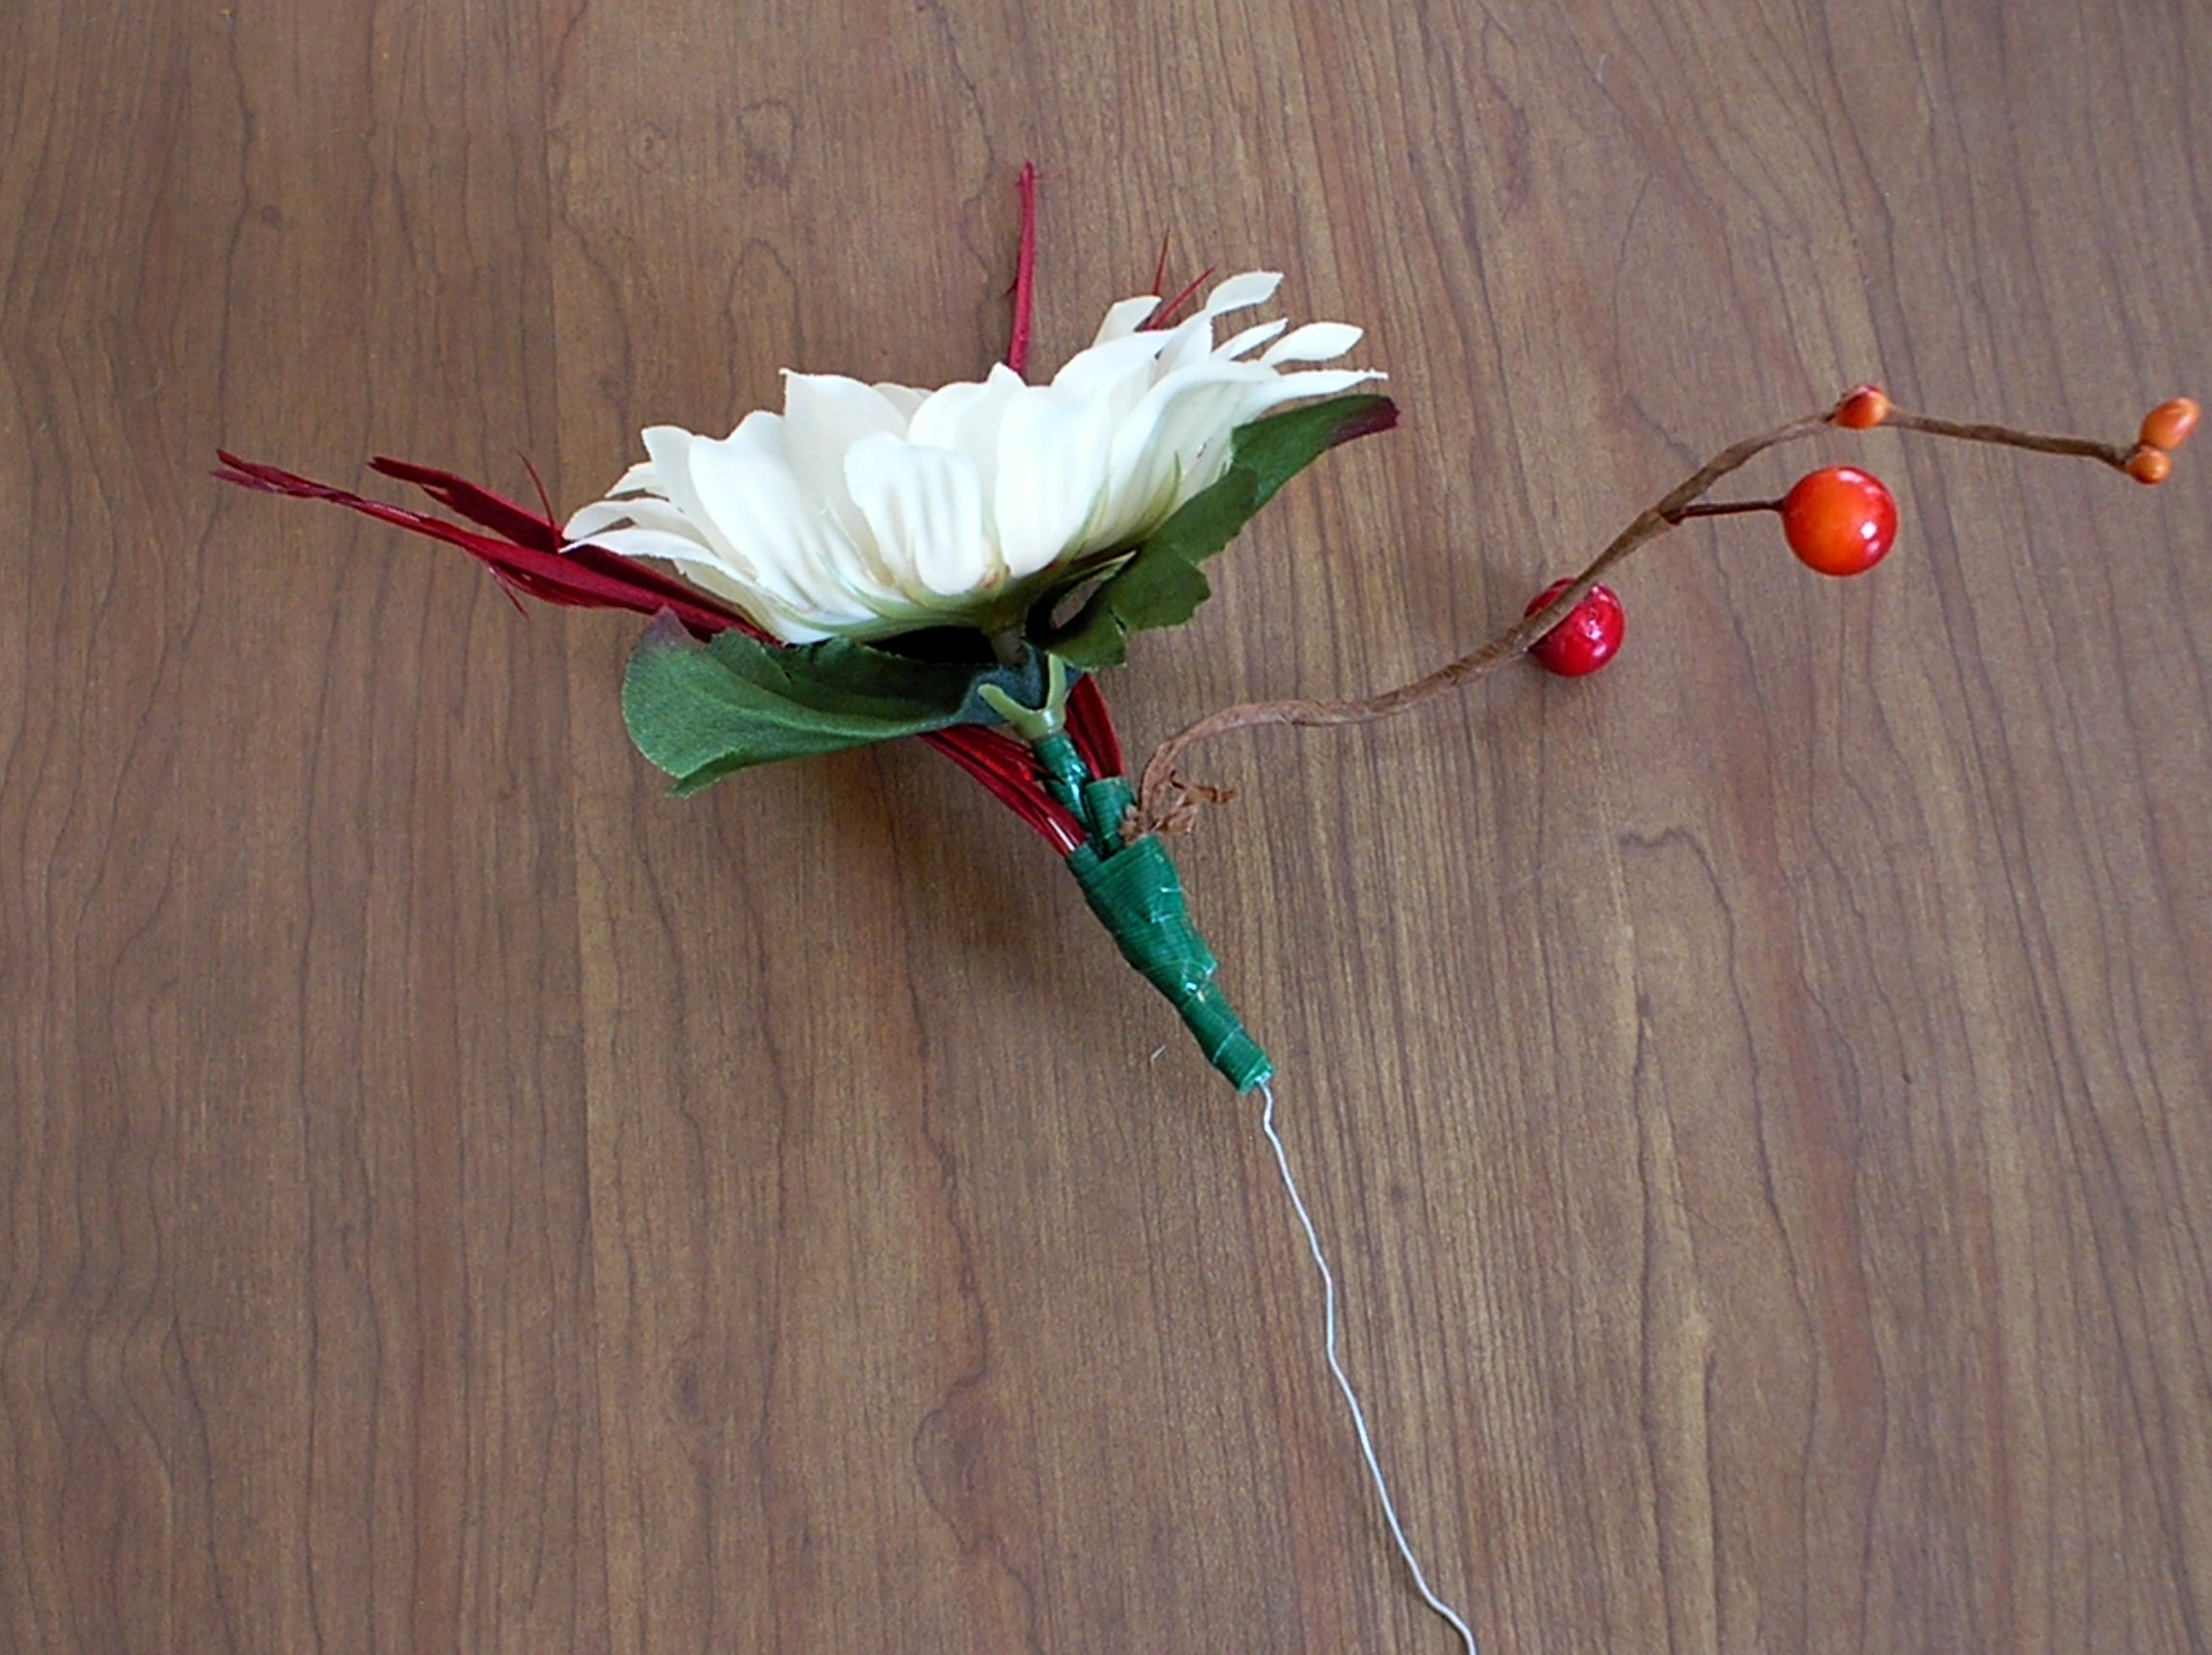
  • Confetti or Silk Flowers to Snip (for the look of fall leaves)
  • Park Bench or Other Focal Points (Hint: look in the doll house or railroad items area at the craft/hobby store)
  • Other Ornaments of Your Choice (I added small “pumpkins” that I found in a bag of potpourri)
  • Heavy Gauge Wire Cutters
  • Heavy Duty Craft Knife or Small Saw
  • Wood Stain or Paint for Base
  • Sand Paper
  • Glue Gun
  • Clear Drying Craft Glue
  • Double Sided Tape (or packing tape folded over) to Secure the Battery Pack.

Steps:

Preparing the Stand:

An upside down tray works well for this craft as it allows you to hide the battery pack underneath. Taping the pack to the tray allows better access for changing batteries. So, the first step is deciding where you will place your tree and battery pack.

Using a small saw or knife, make a small notch in the side of the tray for the light strand to slip up into. Sand the edges of your notch. Autumn Park Decoration tray Museiddity

Stain or paint the sides of your tray.

Making the Tree:

Trees have personality, and the tree you create will set the mood for your centerpiece. The fun of making your own tree, as opposed to purchasing a pre-fabricated lit tree, is that you can make your tree as delicate or as thick and gnarled as you like! How you weave, braid, or twist the wire strands together will determine the look of the bark.

I suggest starting with three strands, each one a few inches longer that you think you will need to allow for length lost in the twisting. Braid or twist these three strands together, leaving a couple inches at each end loose for playing with roots and branches. Autumn Park Decoration tree Museiddity

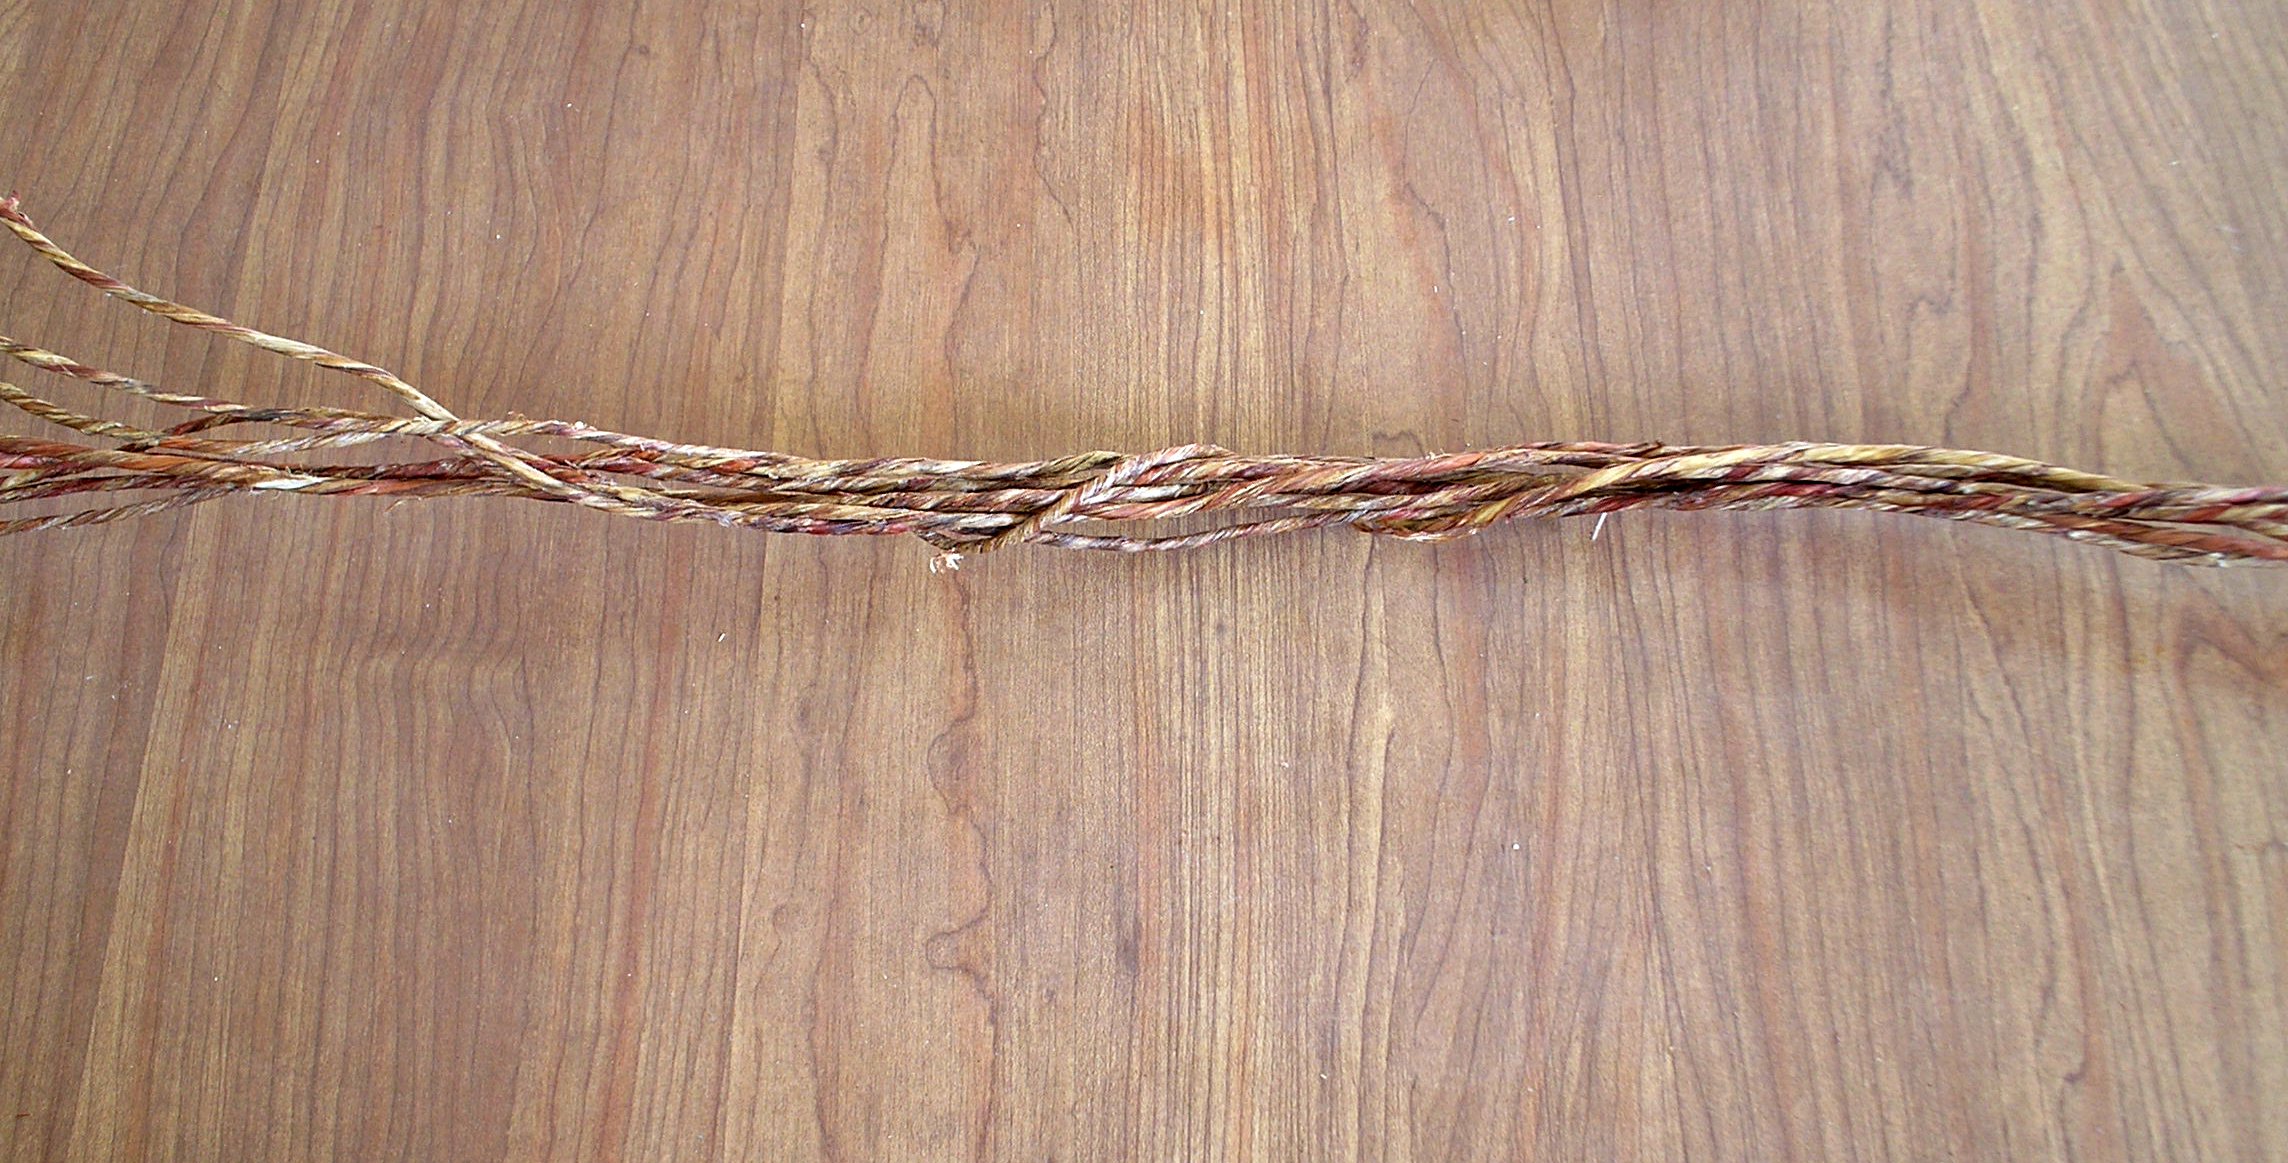
Make at least three more sections like the one above.

Twist and weave these sections together, using another length of wire to hold them in place. As you work, decide which end will be the roots, and which end the branches. Autumn Park Decoration trunk MuseiddityAutumn Park Decoration roots Museiddity

When working the branches, take a few strands from a neighboring section at the trunk to weave into the base of the branch.

The roots will not only stabilize the tree, but keep it from unraveling. When working the roots, think of a web. Again, use strands from neighboring sections to form the web.

Putting it All Together:

Once you are happy with your tree, use the hot glue gun to secure it to the base. You might also want to place some glue in a few crevices of your tree trunk. Autumn Park Decoration mount Museiddity

Attach the moss for ground cover.

Attach any decorative items—park bench, pumpkins, bicycles, wheelbarrows, etc…

For fall color, snip some inexpensive silk flowers into confetti-like bits. Use craft glue to secure these onto the ground cover, the park bench, etc… You might even want to place a few on the tree as un-fallen leaves. Autumn Park Decoration leaves Museiddity

Once the glue is dry, simply wrap your light strand around the tree and tape the battery box (and any extra strand) underneath. Be sure your wire is setting in the notched area.

Autumn Park Decoration final Museiddity

I made this one last October and we decided to keep it out all year. I hope you enjoy your Park at Dusk Decoration as much as we do!

Advertisement

Easy Burlap Wreath with Corsage Style Ornaments

Burlap or jute wreaths are so easy to make! You can dress them up, or leave them casual–and decorate them for any season. Here are examples of my two most recent creations, along with the steps so you can hang one on your door today.

 Mother's Day Wreath by rlc

This one was made for Mother’s Day.


Autumn Burlap Wreath by RLCThis one was a “No-Sew, No-Glue” burlap wreath makeover. I wanted something more full.


Materials:

Wreath Form
Burlap or Jute Garland (or your former No-Sew Wreath)
Ribbon (optional)
Floral Wire
Wire Cutters
Corsage Style Ornaments (instructions posted on October 16, 2014)

Steps:

Prepare your materials:

Garland and Ribbon:

Decide how many strips of material you will want to use; the one pictured has three strips of burlap and one strip of decorative ribbon. To measure the length needed for each strip, hold the material against the outside edge of your wreath form and wrap the material around it at least 1 ½ times. This will give you enough extra fabric to “poof.”

Floral Wire for Securing Garland:

Measure out a few strand of wire to be readily available. Basically, these just need to be long enough to wrap around the thickness of your wreath form. Give yourself enough extra to allow for easy twisting of the ends—you can trim off any excess once the wreath is finished.

Create Your Wreath:

I began by taking apart my original wreath; this was easy as I created it with the idea of changing it with the seasons—it was just a matter of untwisting some wire. I’ll be using the same process to make this new version.

Gather the ends of your fabric strips, hold them against your wreath form, and secure with a wire twisted in the back like a twist tie. Autumn Burlap Wreath Start rlc

Now it is just a matter of playing with the fabric; securing it at the end of each section with a twisted piece of wire.


Once you’ve finished the body of your wreath, it’s time to add your decorative elements. I’ve used some corsage-style bouquets created by taking apart elements of floral stems and re-securing them with florist tape. These little bouquets are on florist wire. To attach, simply place the bouquet against your wreath, between two of the “poofs,” and wrap the wire stem around the wreath. Finish by bringing the end of the wire back around your bouquet and pinch it closed. Floral Tape Tutorial 006 rlc


Take a good look at your wreath—play with the fabric, adjusting the “poofs” so they cover the twist ties. Once you are happy with the result, turn the wreath over and trim off any excess wire. Autumn Burlap Wreath Back rlc

Combining Materials with Floral Tape

Floral Tape Tutorial 001 rlc

Let’s say you want to use one silk flower, a few feathers, and a seed pod to create a pick for a potted plant or a decoration for a wreath, how would you do that? Or, what happens when you don’t want to use all of the stems in silk bouquet, or you want to combine parts of several bouquets into one? One solution is to use floral tape. If you’ve ever purchased a corsage, this is what the florist used to piece those elements together.

I’m reworking my burlap wreath for autumn. I have several elements I’d like to include, but I want to use only parts of the stems I picked up at the craft store. Also, some of the elements are too long for my purpose. I’m going to take these decorations apart and make my own little arrangements.

Materials:

Wire Cutters
Scissors/craft knife
Floral Tape
Floral Wire
Flowers, Feathers, and Decorations of your choice.

If you look closely you’ll notice the original items are formed by taping several stems together. I’m simply going to take them apart, and create new decorations following the same principle. To take the stems apart you can use a craft knife to pierce the tape and then pull the stems in a downward motion to separate.

Floral Tape Tutorial 002 rlc


Floral Tape Tutorial 003 rlc


Next, decide what elements you want to include in your new decorative stems. Play with the lengths of the pieces. Hold them all together and see how they fit. Trim anything that is too long. Since my decorations will be wired onto a wreath I will need all the stems trimmed and the flowers and feathers taped onto flexible wire.

Once you’ve decided on the arrangement, it’s time to build each component. The tape needs to be touching each stem; if you simply hold the bundle together and wrap tape around it you’ll have items in the middle falling out.

Start with any items that now need wire stems such as flower heads or feathers. Cut a piece of florist wire, hold the flower head or feathers against the wire, and wrap the floral tape around the stem for one full turn, then continue to twirl your new stem around while spiraling the tape down the length of the stem until it feels secure. Repeat this for each small section of your new decoration. Floral Tape Tutorial 004 rlc

When each small section is ready, take your center flower and one other section and wrap them together with the tape. Add a third section and graft that onto the stem. Continue until all elements are combined. You only need one main stem, so trim away some of the wires and continue wrapping so that the sharp edges are covered. Floral Tape Tutorial pic


You now have your own unique decorations to use in wreaths, over doorways, wrapped around candle holders, etc…

Floral Tape Tutorial 006 rlc  Floral Tape Tutorial 007 rlc

Come Play with the Sirens!

October is here, which means its time to head the Siren’s call to celebrate Halloween/Samhain/Harvest Time. Each year Samhain’s Sirens orchestrate a month long virtual party and everyone is invited; they share legends, recipes, music, crafts…and everyday they give away handmade gifts! ss12


Join me today to learn how to make a Remembrance Wreath—a leaf for every loved one passed. We’re giving away a kit to get you started on making your own wreath! While you’re there, don’t forget to check out the previous posts for yummy recipes and other fun. Remembrance Wreath Finished by rlc

Craft Pumpkin Punkin Sprite

Punkin Sprite Decoration by rlc

I’m sure you’ve heard of woodland sprites, but did you know there are sprites in your vegetable garden? Unlike the Woodland Sprites, Punkin Sprites only visit this dimension during the time of the last harvest. Once the last pumpkin is picked, and the last row of corn is harvested, Punkin Sprites go back to their home.

Happy and playful, Punkin Sprites sing songs to make pumpkins and other squash grow big—in fact, they are a bit competitive, but it’s all in fun! Celebrate the joy of autumn by making your own little Punkin Sprite!

Materials:

Craft Pumpkin
Beads or Buttons for eyes
Silk Flowers or Moss for eyebrows and hair
Craft Paint and Sealer
Epoxy Clay of your choice *See notes on working with epoxy clay
Protective Gloves—craft/hospital/work gloves
Pop-Up Cleansing Cloths
Adhesive or Glue Gun
Wax Paper to protect work station while working with epoxy clay
Craft Knife
Awl or Skewer
Paint Brushes or Foam Brushes
Pencil

Preparation:

Prepare your work surface by placing wax paper on your table to protect it from the epoxy clay.

If unfamiliar with epoxy clay, please read notes at the bottom of this post.

(Clay dries quickly; when making the eyes, nose, ears, etc… mix only enough clay for one item at a time.)

Step One—Making a Face

Begin by marking placement for the eyes, nose, ears, and mouth. Once you have decided on the placement, lightly score the pumpkin to ensure a good epoxy adhesion.

Beginning with the ears, mix a small amount of Part A epoxy with equal amount of Part B. work the two parts together until pliable and tacky. Form this into the desired shape for the ear and press it into place. Make any adjustments needed to the shape and set the pumpkin aside. Repeat for the second ear. Punkin Sprite Ear by rlc

For the eyes, you’ll be making three parts. One is the foundational piece or back of the eye into which you will press your bead or button. Then you will make an upper and lower eyelid to help keep the bead in place.

Mix a small amount of clay and smooth out into a flat, almond shape. Press that onto the pumpkin. Press your bead or button into the clay.

Punkin Sprite Eye by rlc  Punkin Sprite Eye Lid by rlc


Next, mix a small amount of clay and separate it into two parts. Roll each into a small tubular shape to go just along the upper and lower lid area on the eye. You want it to cover the bead just a little bit to help keep the bead in place. Work the eye until you like the result. If any clay gets on the bead you can use a cotton swap dipped in soapy water or alcohol to remove the residue.

To make a nose, mix up a small amount of clay and work it into a ball or tube shape. Press this onto the pumpkin, smooth down the edges to blend into the face and finish forming a nose.  Punkin Sprite Nose by rlc

Form the mouth by molding the clay into the basic shape you want, pressing this onto the pumpkin and molding the lips into shape with your thumb and forefinger. Be sure to smooth the edges onto the pumpkin so the mouth looks like it is part of the face, like you did with the nose.

Once all your facial features are in place let them cure for at least twenty minutes.

Step Two—Painting

At this point your pumpkin and your clay are probably different colors. Before painting the features of your Punkin Sprite, I recommend an all-over base coat in a light color such as Onion or Mushroom. This will help your painted features to be more uniform in color. Punkin Sprite Base Coat by rlc

Once the base coat is dry, continue to paint the face and ears. Once finished be sure to seal the paint with the appropriate sealer. Punkin Sprite Painted by rlc


Step Three- Hair, Eyebrows and other Accents

How you attach your Sprite’s hair and eyebrows depends on the materials you are working with. For instance, I wanted to work with silk stems. To get the look I wanted for the hair I punctured the pumpkin at the stem and used a skewer to enlarge the hole. I then applied a bit of craft adhesive (you can use your favorite craft glue or a hot glue gun) and inserted the stems. The eyebrows are simply leaves from the same silk stem, cut to length and glued on.

My Punkin Sprite by rlc

Give your Sprite even more personality with a hat or other accessories!

*Notes—Epoxy Clay

Epoxy clay (or two-part epoxy adhesive) can be found in craft stores by the jewelry supplies or at your local hardware store by the plumbing supplies. They work the same way but have different textures and curing times…and smell. The jewelry clay is smooth and warms quickly in your hand. It has a longer work time and a better smell. You can expect to pay about $12.00 for two 1.6 oz tubs (parts A & B). Plumbing clay has a more granular texture and an industrial-type smell, you can expect to pay about $6.00 for a 2 oz tube containing both A & B. In my example, I used plumbing epoxy for the ears and jewelry epoxy for the other features.

Epoxy clay dries quickly and once it is dry it is pretty much permanent, so please protect your table…and floor!

Gloves are recommended as the clay may irritate skin. Keep some cleansing cloths nearby to wipe off hands and any tools you use.

Fall is Coming…!

Have you started on your Fall crafts? I’ve been buried in other work but am really looking forward to getting crafty again! I have an idea for a harvest/Halloween centerpiece I’ve been wanting to start on–somehow it’s just easier to get out the glue gun when it isn’t 110 degrees outside!

Speaking of Halloween, I’ll be at Samhain’s Sirens again this yeass12r with a Fall/Harvest craft to share! I can’t say too much, but this year’s craft has to do with your family tree. Their are 50 days left until Halloween, but these gals start the party on October 1st! My date is October 11th–then I can share the craft with you!

Speaking of sharing, what are you working on?

One more week of Summer–yay! I’ll be back in Autumn.