 Be the curator of your own ghostly museum! These DIY light boxes are a fun way to light up your hallway, bathroom, or fireplace mantel.
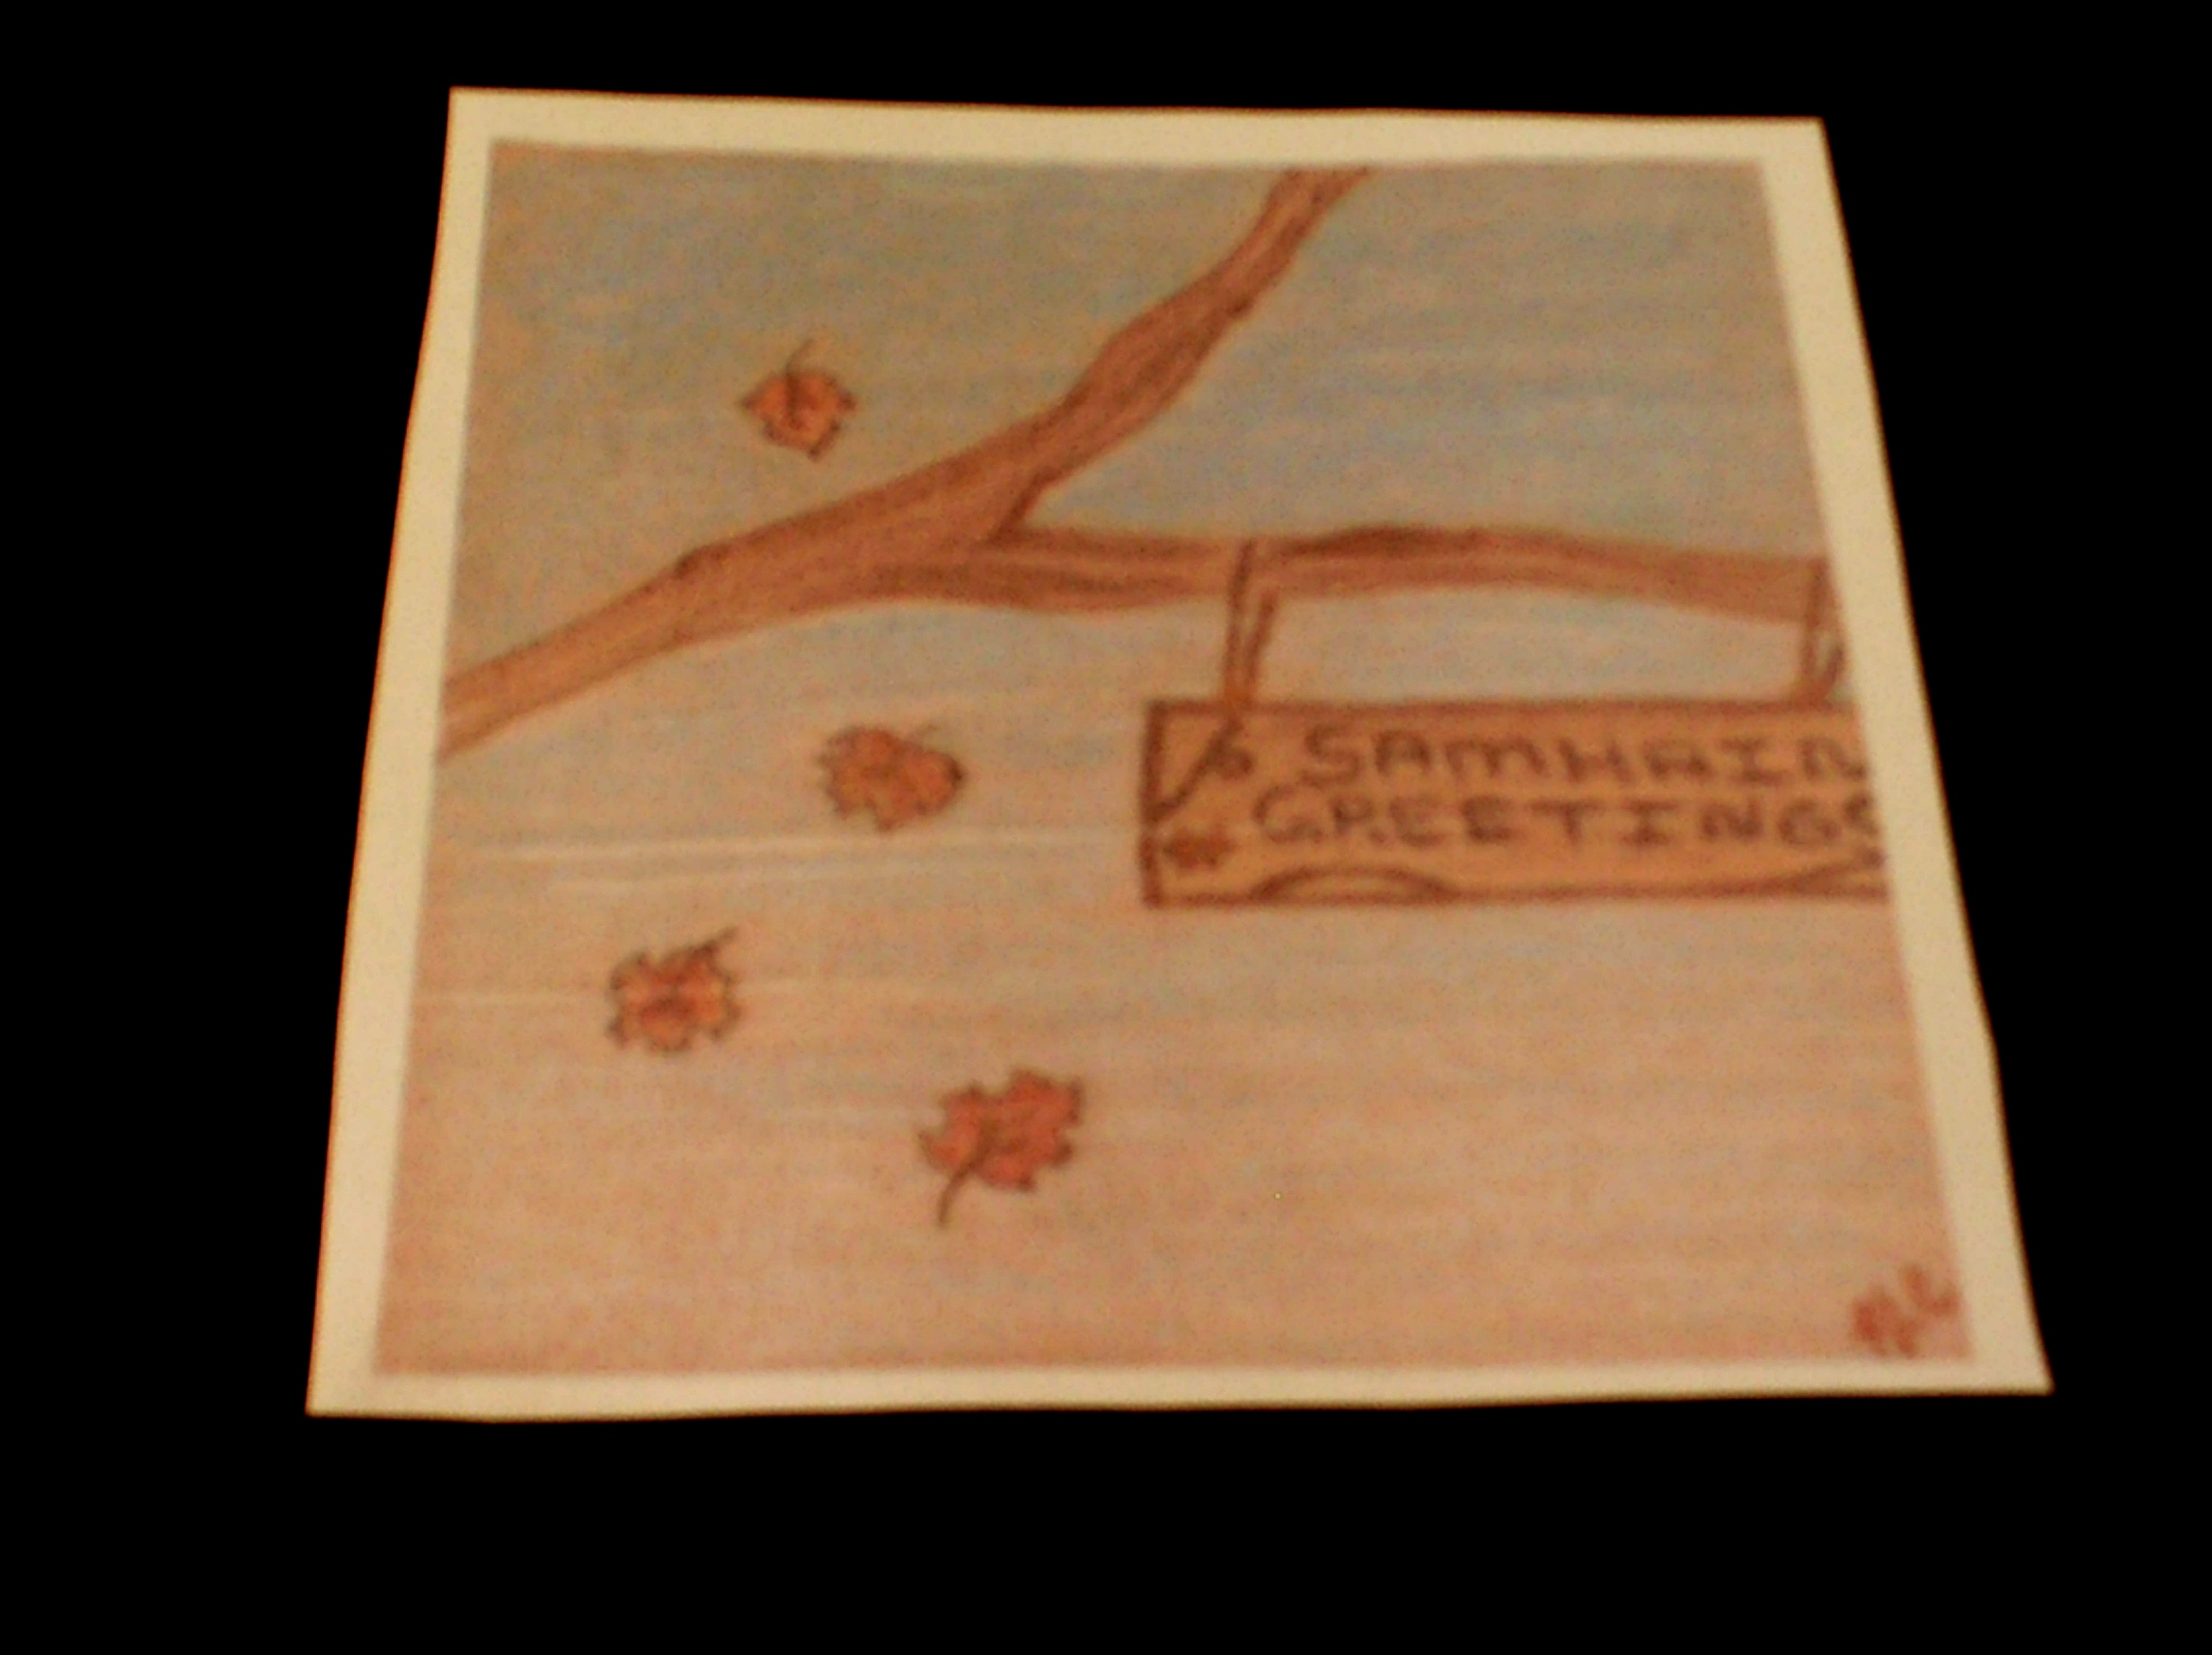
I shared this craft last Friday with the folks at Samhain’s Sirens but thought it was so fun I’d re-post the craft here!
Craft Materials:
- Empty boxes—one for each illuminated picture. These will be your frames.
- Ruler to measure the “window” size for your print.
- Item to trace for “window” (optional)
- Vellum for printed picture (about .99 cents at the craft store; scrapbook section)
- Computer and computer printer for printing picture onto vellum
- Paint, pretty paper, or other embellishments to decorate frame
- Craft knife or scissors
- Tape
- Glow stick or battery operated light source. (I used the submersible LED lights I talked about in Light Up Your Party. They have a clip on the back to hold them onto the box/frame)
Craft Steps:
Choose an empty box—an empty cereal box or tissue box will work nicely. Tape closed any open ends and cut a large opening out of the back side of the box.

Lay the box face down and measure or trace your desired picture window opening (I used the lid to a can). Cut out the opening.

Measure your window to determine the needed size of your printed picture. If you will be painting your box you might do this now so it has time to dry.

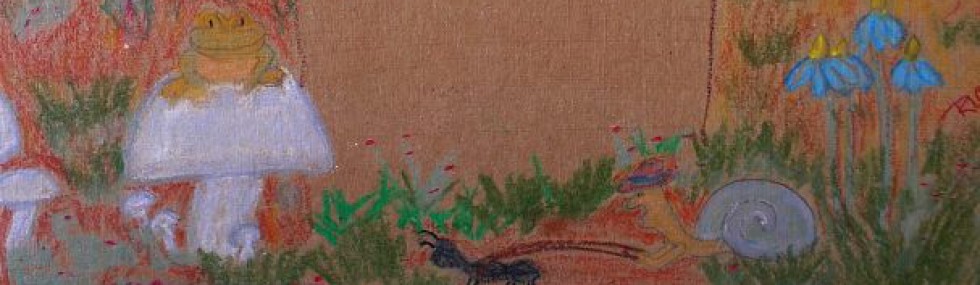
Using your computer, choose a photograph or illustration to print. You might want to manipulate the image using photo editing software. Save the image.
Decide how you will print the image and print a test page on regular paper.
How you print the image depends on your equipment. I use my Word program and insert the image onto a document. The rulers on my screen help me to size the image.
Check your test page against the window you cut from your box. If you are happy with the size then print a final copy onto a piece of vellum. Note: Vellum does not take ink as well as regular printing paper, so be prepared to allow a few minutes of drying time. Your image might have roller lines or other ink imperfections but that just adds character to your final work. (wink*)
Cut out your image allowing enough of a border for taping to the box.
Place your box front down on a table. Place your image face down inside the box. Check the placement to be sure the image is correctly positioned in the window. Tape the image to the inside of the box.

Finish decorating your frame. When the time comes to illuminate your box simply tape a glow stick—those little sticks you break and shake—or a small, battery operated light source to the inside bottom ledge of your box.

I’d love to see your gallery! Send me a note or leave a comment if you want to share your picture boxes with Museiddity readers.

Reblogged this on BARBLUVSTOCOOK and commented:
some cute ideas to share