Today is my final guest post over at Samhain’s Sirens. We’ll be making Gypsy Lamps and giving away a lovely lilac colored necklace with amethysts and moonstones. I’m happily sharing the craft post with you here, but to enter the giveaway you’ll need to go to the Samhain’s Sirens blog and enter by Monday morning at 6:00 am EDT. Here is a picture of the necklace being offered.

Gypsy Lamps
They say lighting sets the mood. Whether your style is gypsy or ghoul, you can completely transform your home and have light anywhere with the magic of an LED light specifically made for paper lanterns. 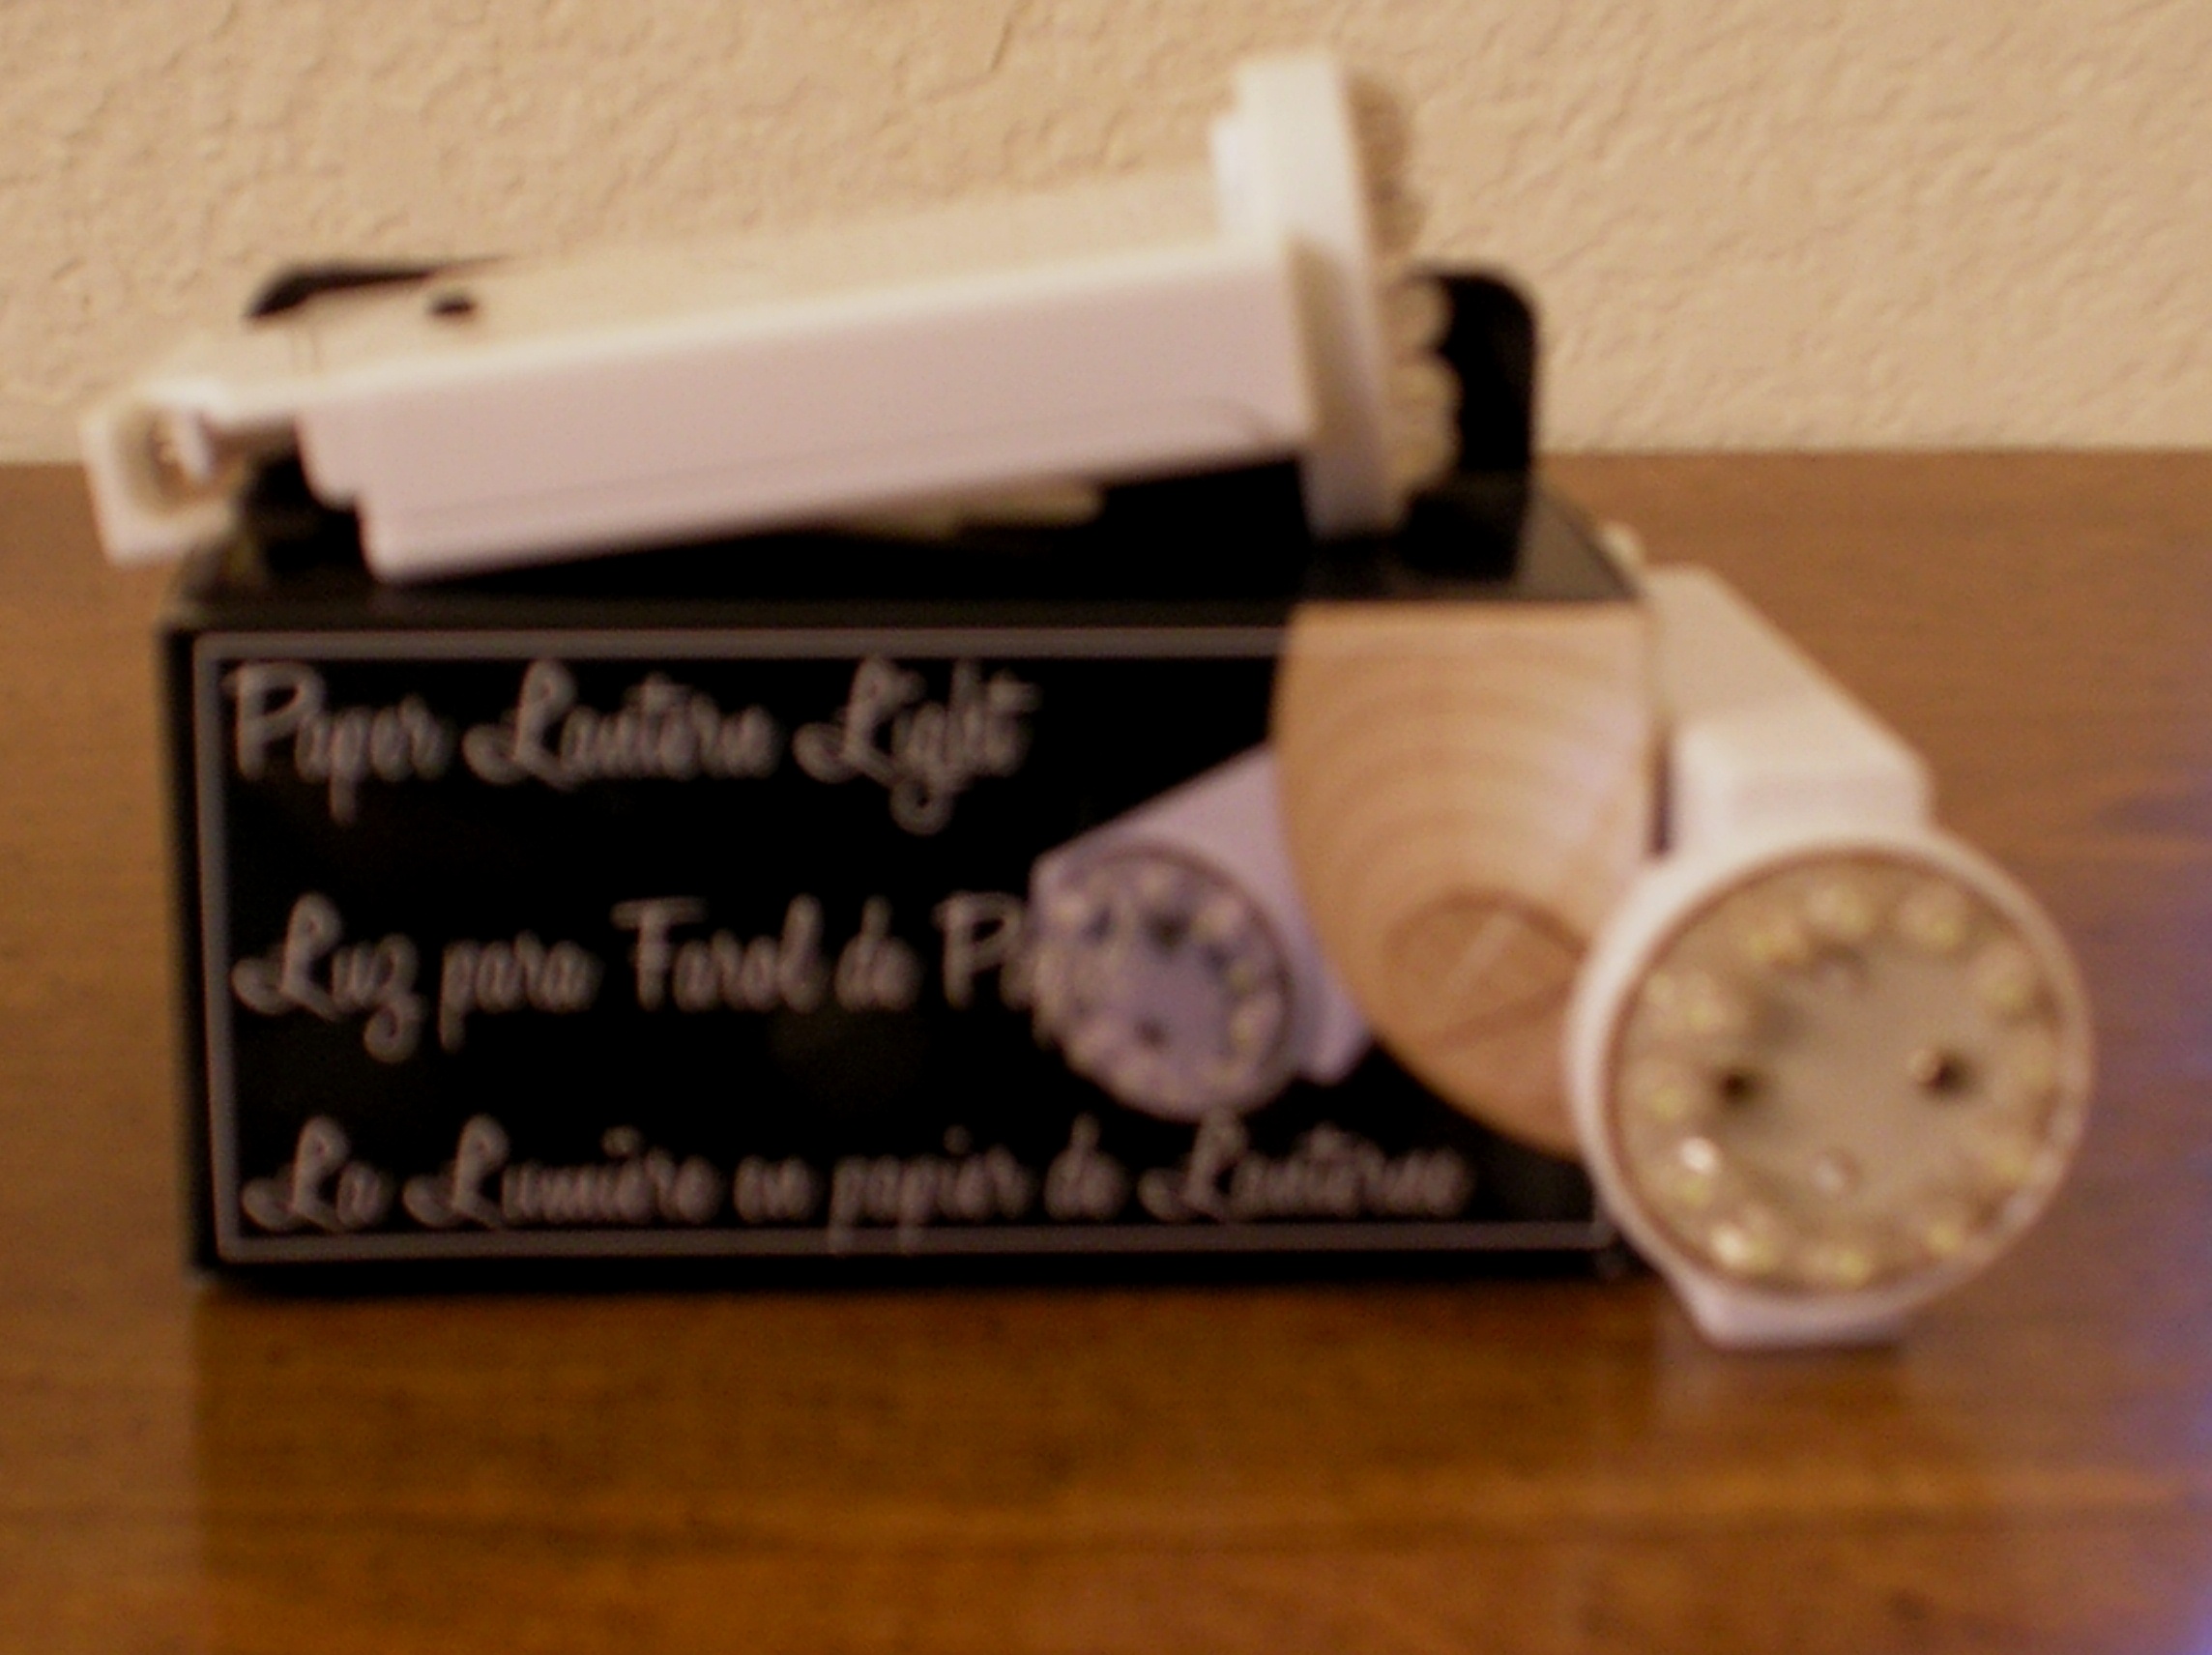
Craft Materials:
- Paper Lantern LED light (available at most craft stores–$9.99)
- Three AAA batteries
- Plastic bottle to use as the lamp shade
- Craft knife or scissors
- Cord, ribbon, or twine (length needed to tie around your LED and pass through your shade plus about 1 ft for gathering fabric. If you will be using the same cord for hanging the lamp include that measurement.)
- Fashion chain (optional, for hanging lamp)
- One or more large scarves or cuts of fabric for covering lampshade (old, torn & dyed pillow cases or rags will work as well)
- Twist tie to help secure fabric around the shade (optional)
- Twig or piece of wire to hold LED light (optional depending on type of bottle used)
- Craft Paint or Wax Paper and tape (optional)
Craft Steps:
Choose your lamp shade.
The item you choose will ultimately determine the size and shape of your lantern. It should be sturdy enough to support the fabric and be at least three inches in diameter. Some ideas include the end of a 2 ½ gallon water jug, the bottom of a laundry detergent bottle, or a plastic sports bottle. Depending on which end of the bottle you use you will pass your hanging ribbon through either a small cut in the bottle or the neck of the bottle. If passing through the neck you will need to craft a support for your LED out of a twig or piece of wire. I’ll show an example of each version.
Prepare your bottle.
Remove any labels from your bottle. Decide which part of the bottle you will use and cut it down to the desired size. If the plastic is completely clear you can make it more opaque by taping large strip of wax paper around the bottle or applying a light coat of craft paint.
Place the batteries in the LED and insure it is working.
Measure your cord.
You will need enough cord to tie around the clip of the LED and pass back through the shade. To determine the length, measure from the top of your shade to the point at which you want the LED to hang. The length of cord needed will be twice this amount plus 10 inches if using a separate cord or chain for hanging. If using the same cord for hanging, figure the additional length needed into your measurement.
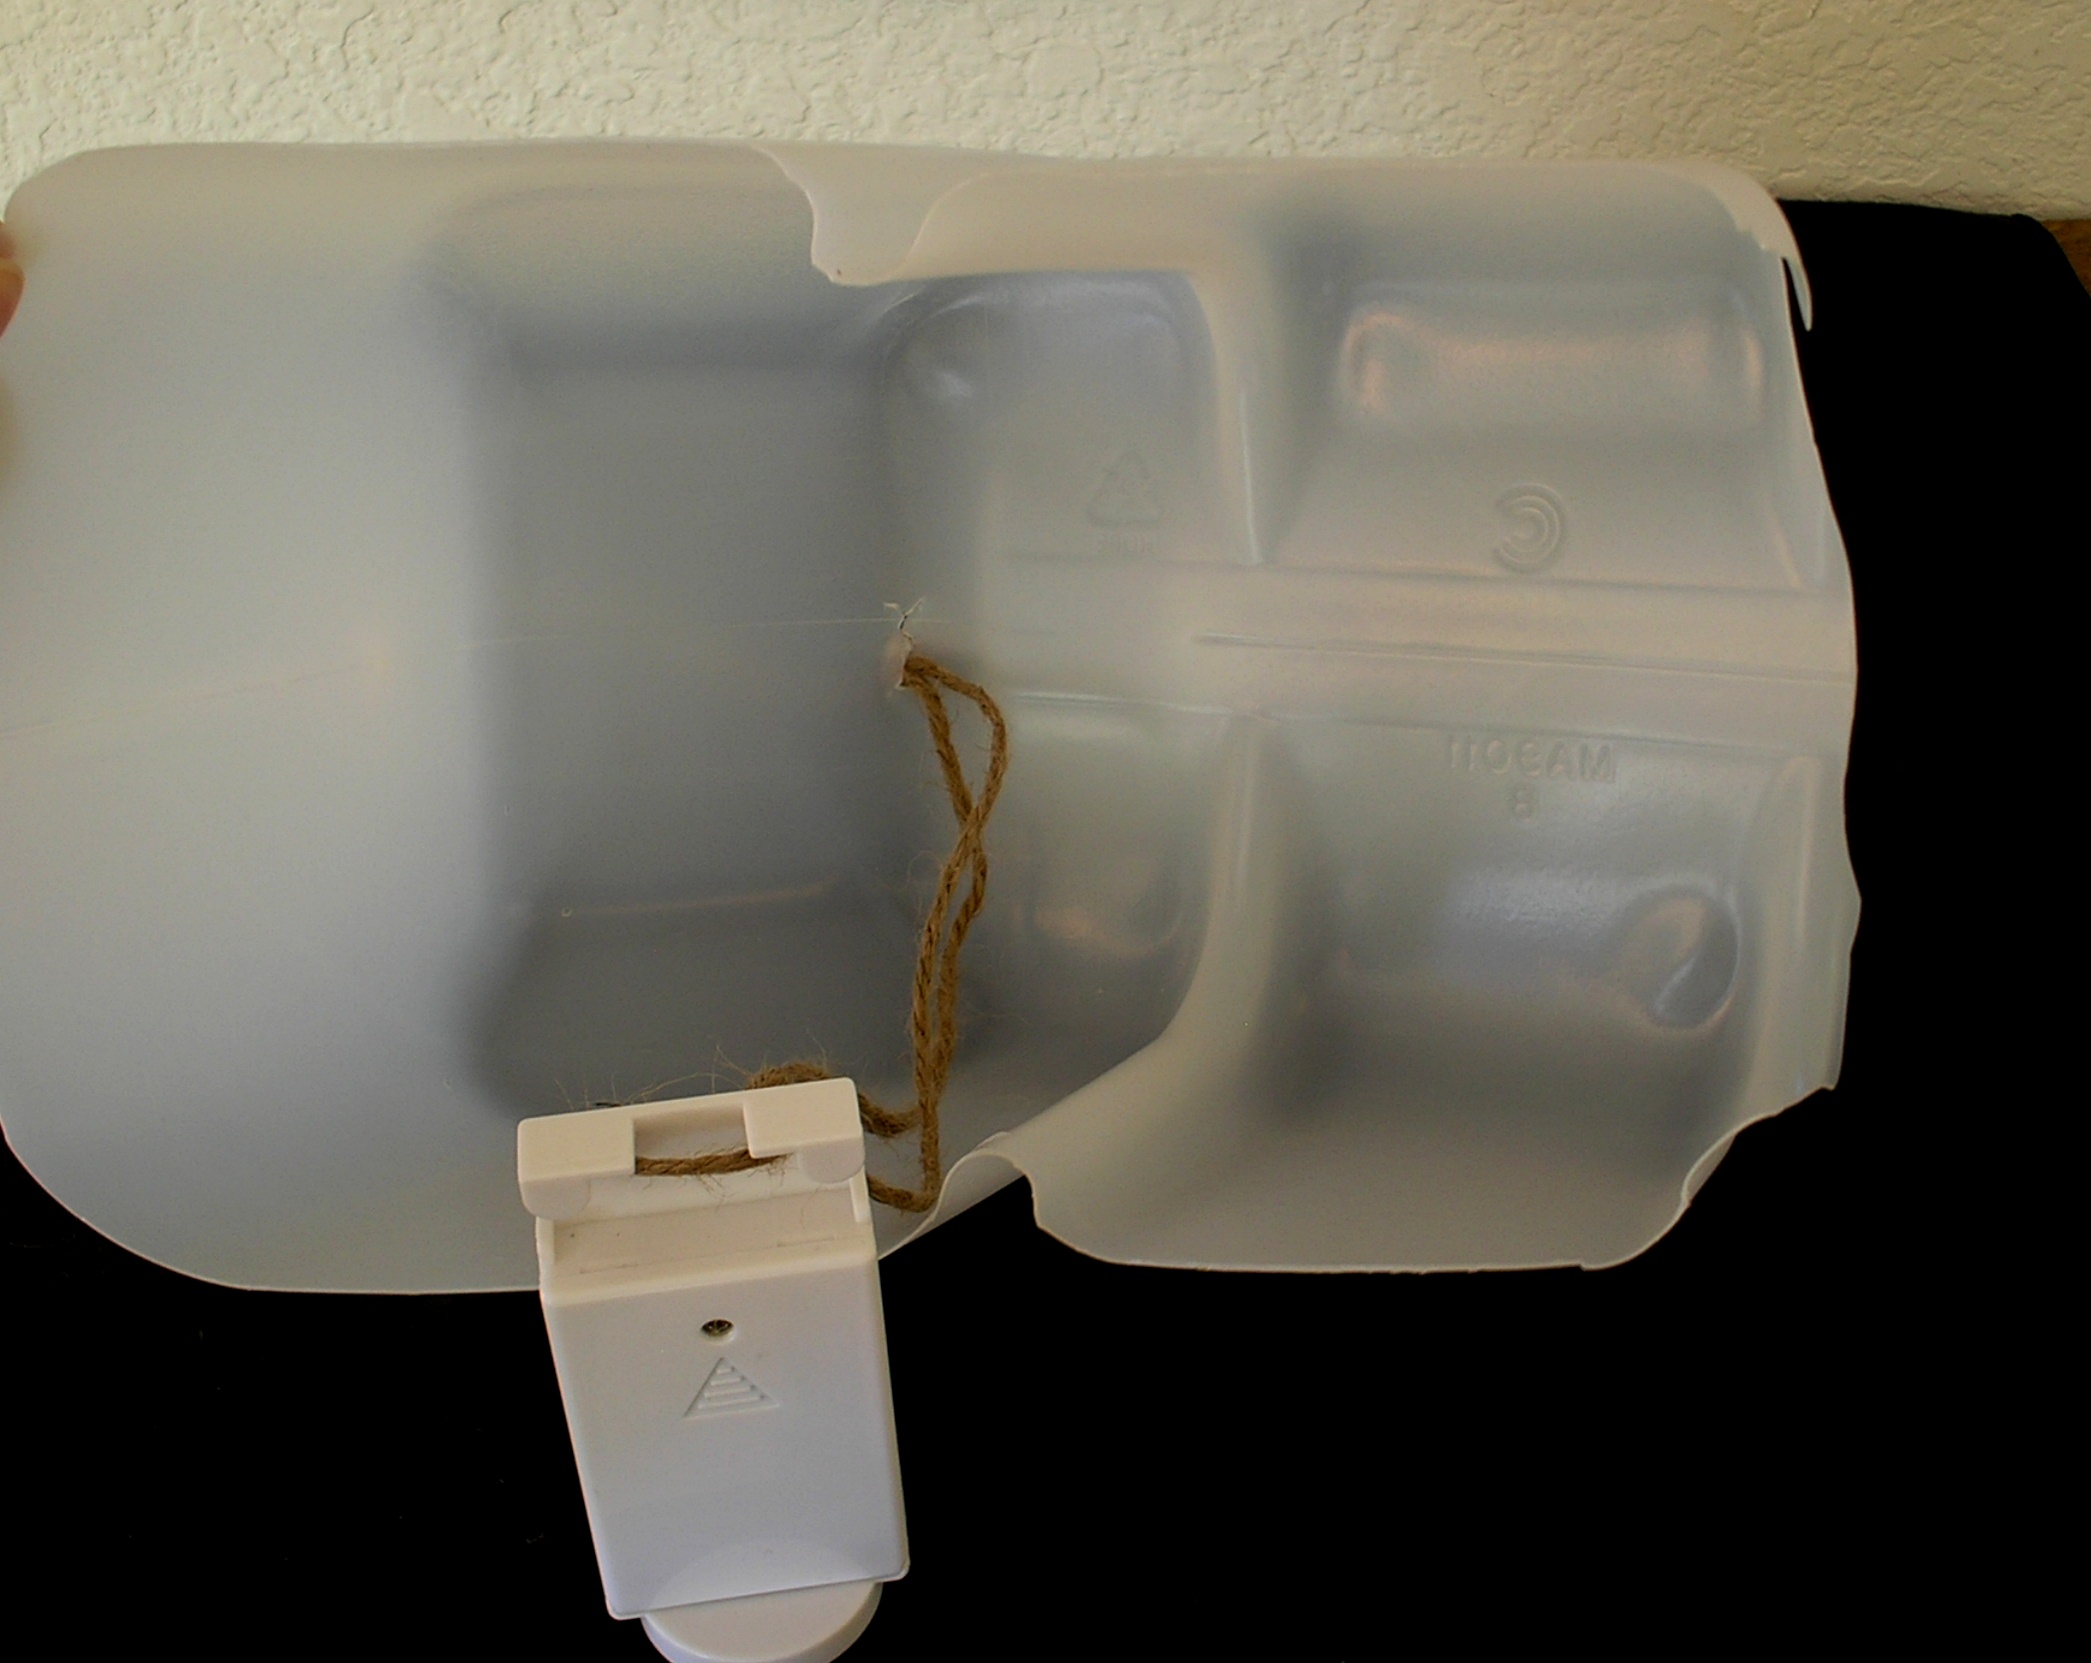
Version 1: Using the end of a bottle
Cut a small “x” in the center for means of threading the hanging cord.
Tie the cord around the clip of the LED, centering the LED on the cord.
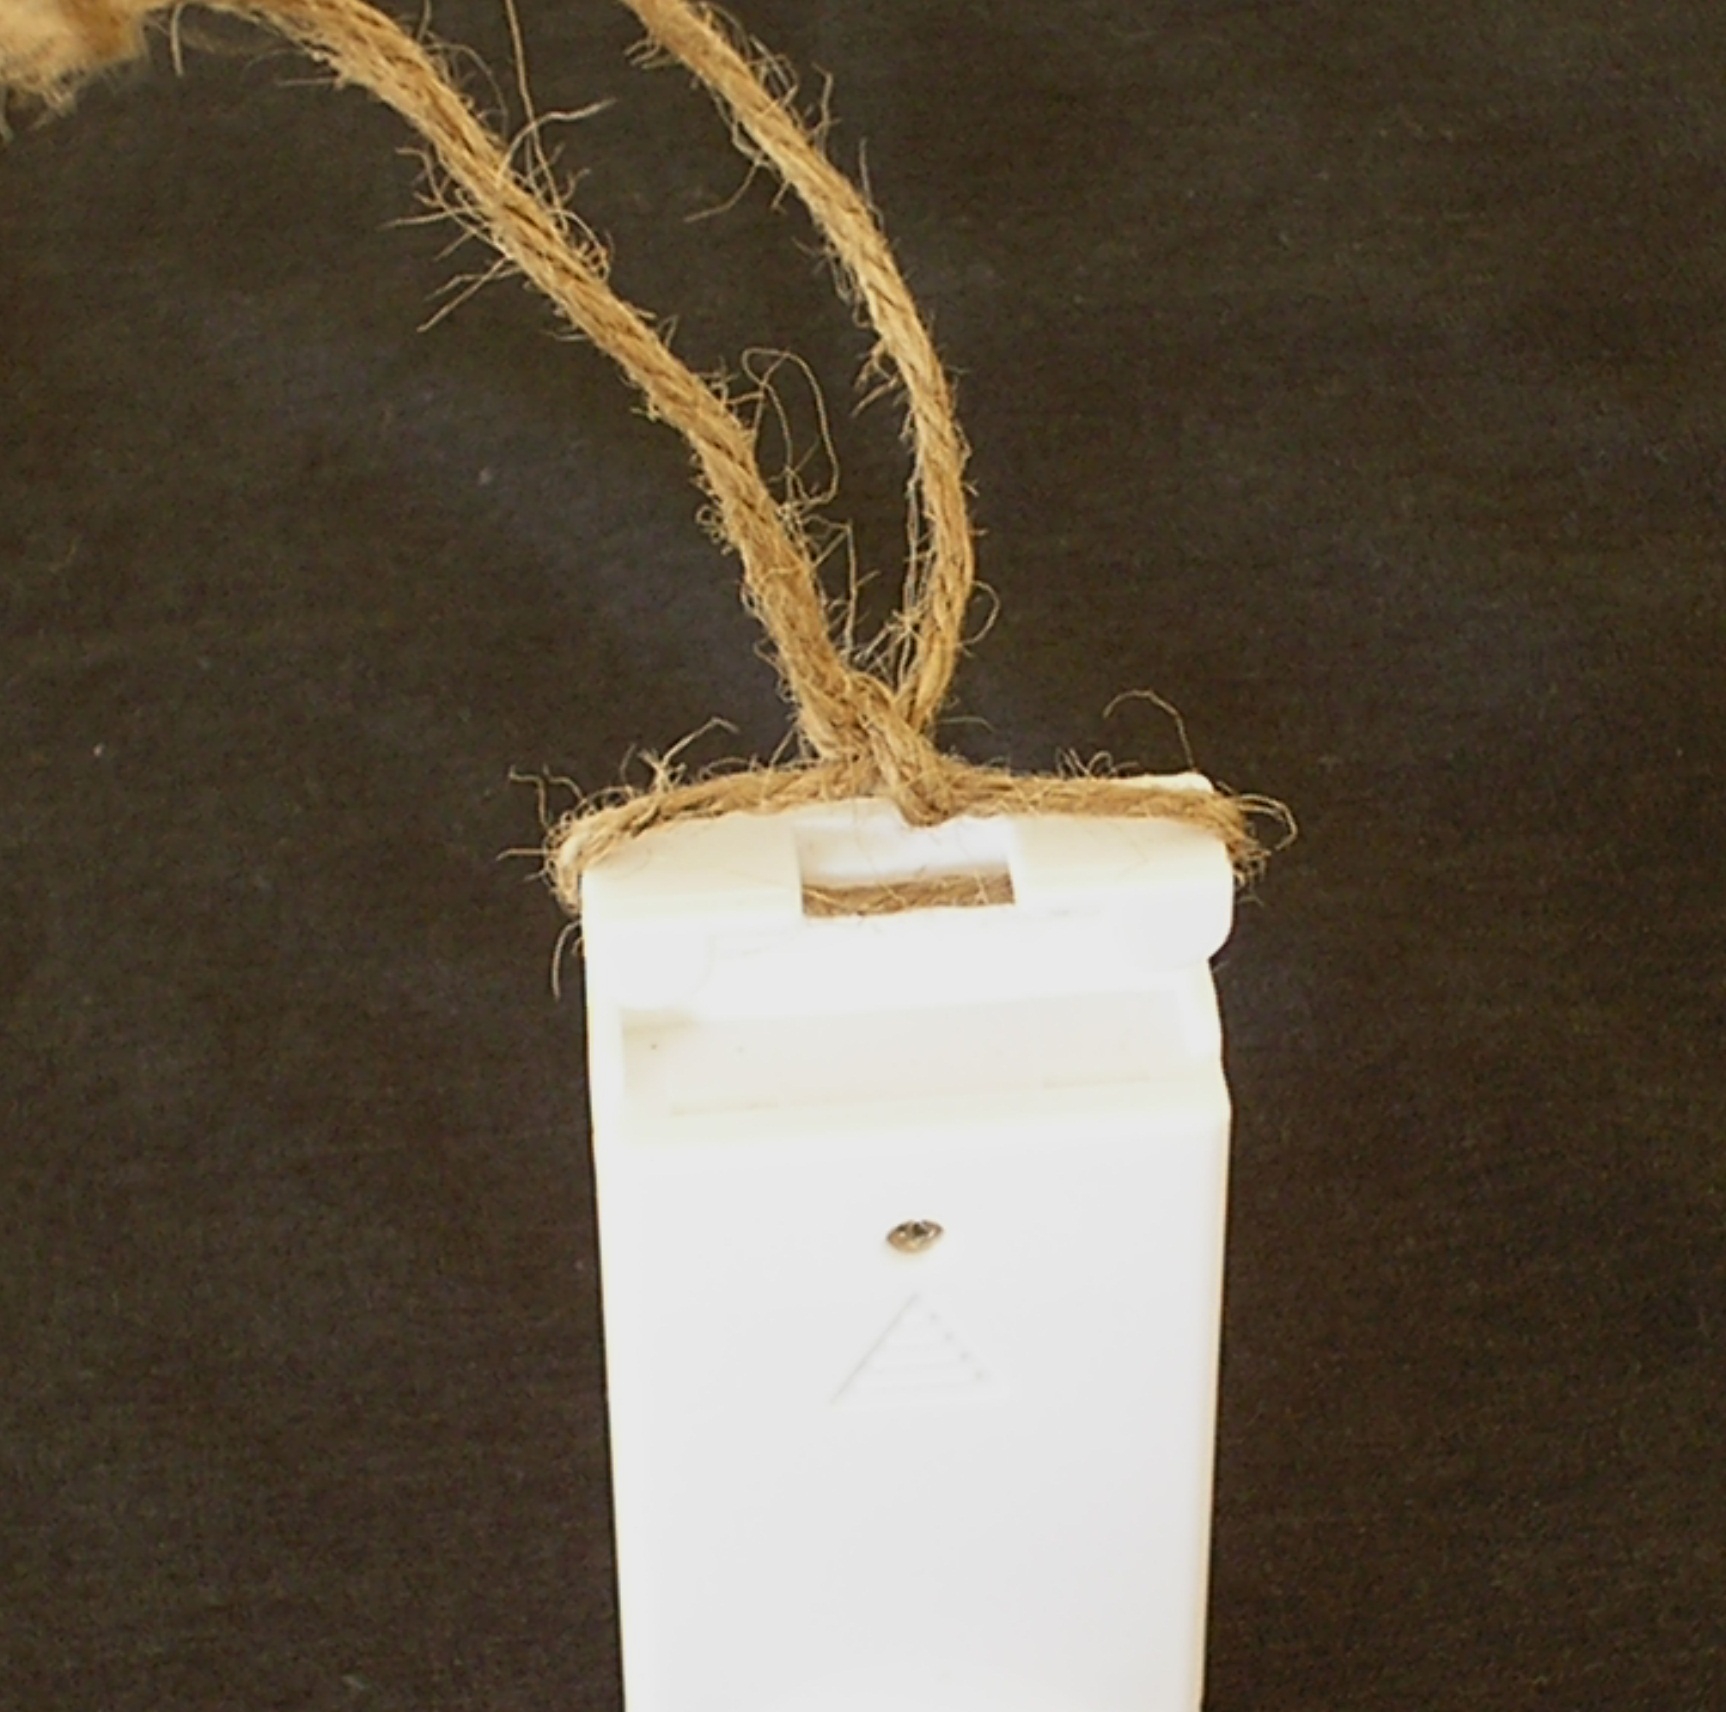
Decide how far above the LED you want the shade to sit and tie a knot at that point. Pass the ends of the cord through the underside of your shade (through the “x”) until the shade rests on the knot.
If hanging your lamp directly from this cord, tie another knot just above your shade (so the cord does not fall back through. Braid or bead the remaining length of cord, forming a final loop at the end to allow for placement on a hook.
If you will be adding a separate hanging chain, create a small loop just above the shade to which you will attach your hanging chain
Version 2: Using the top of a bottle
Cut a piece of twig or wire to fit snug just below the neck of the bottle; this will act as a harp to support the shade.
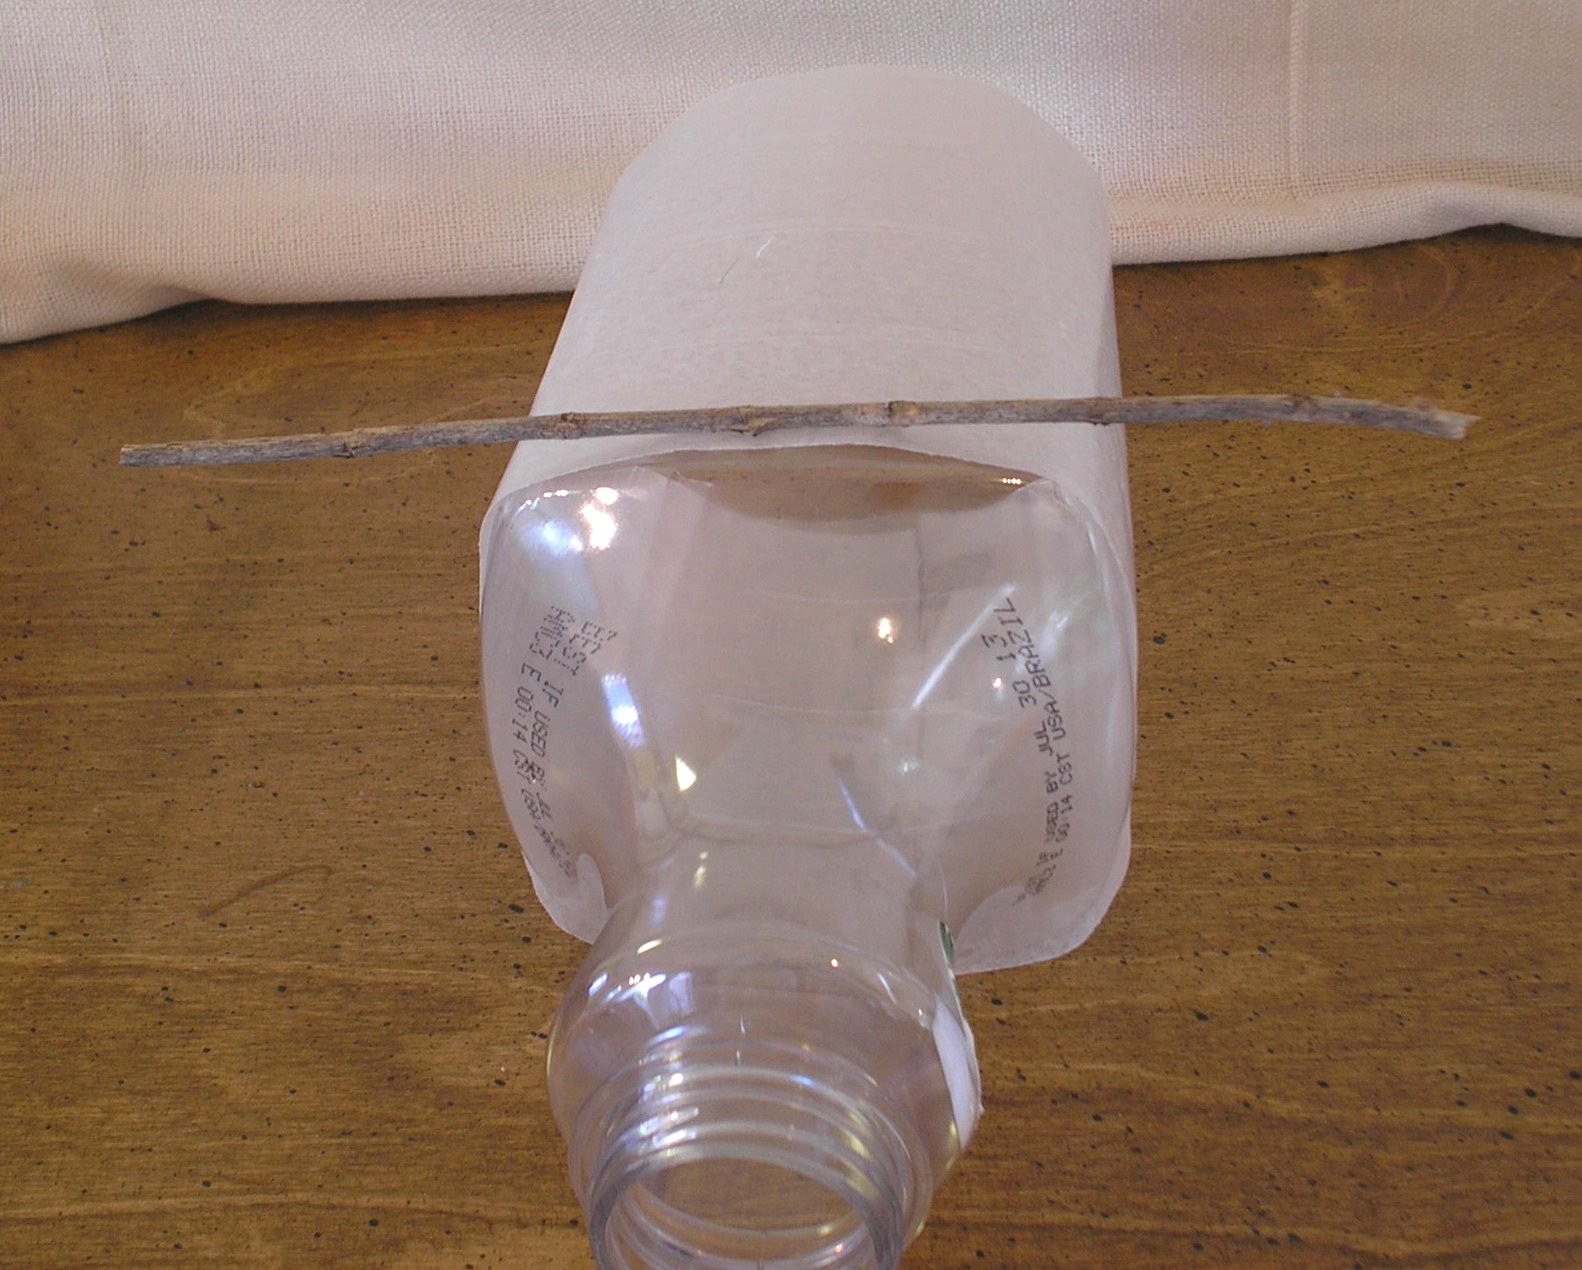
Tie the cord around the clip of the LED. Decide how far above the LED you want the shade to sit and tie a loose knot. Insert your twig through the knot and tighten. Pass the ends of the cord through the neck of the bottle until the shade rests on the twig.
If hanging your lamp directly from this cord, braid or bead the remaining length of cord and finish off with a loop to allow for placement on a hook.
If you will be adding a separate hanging chain, create a small loop just above the shade to which you will attach your hanging chain.
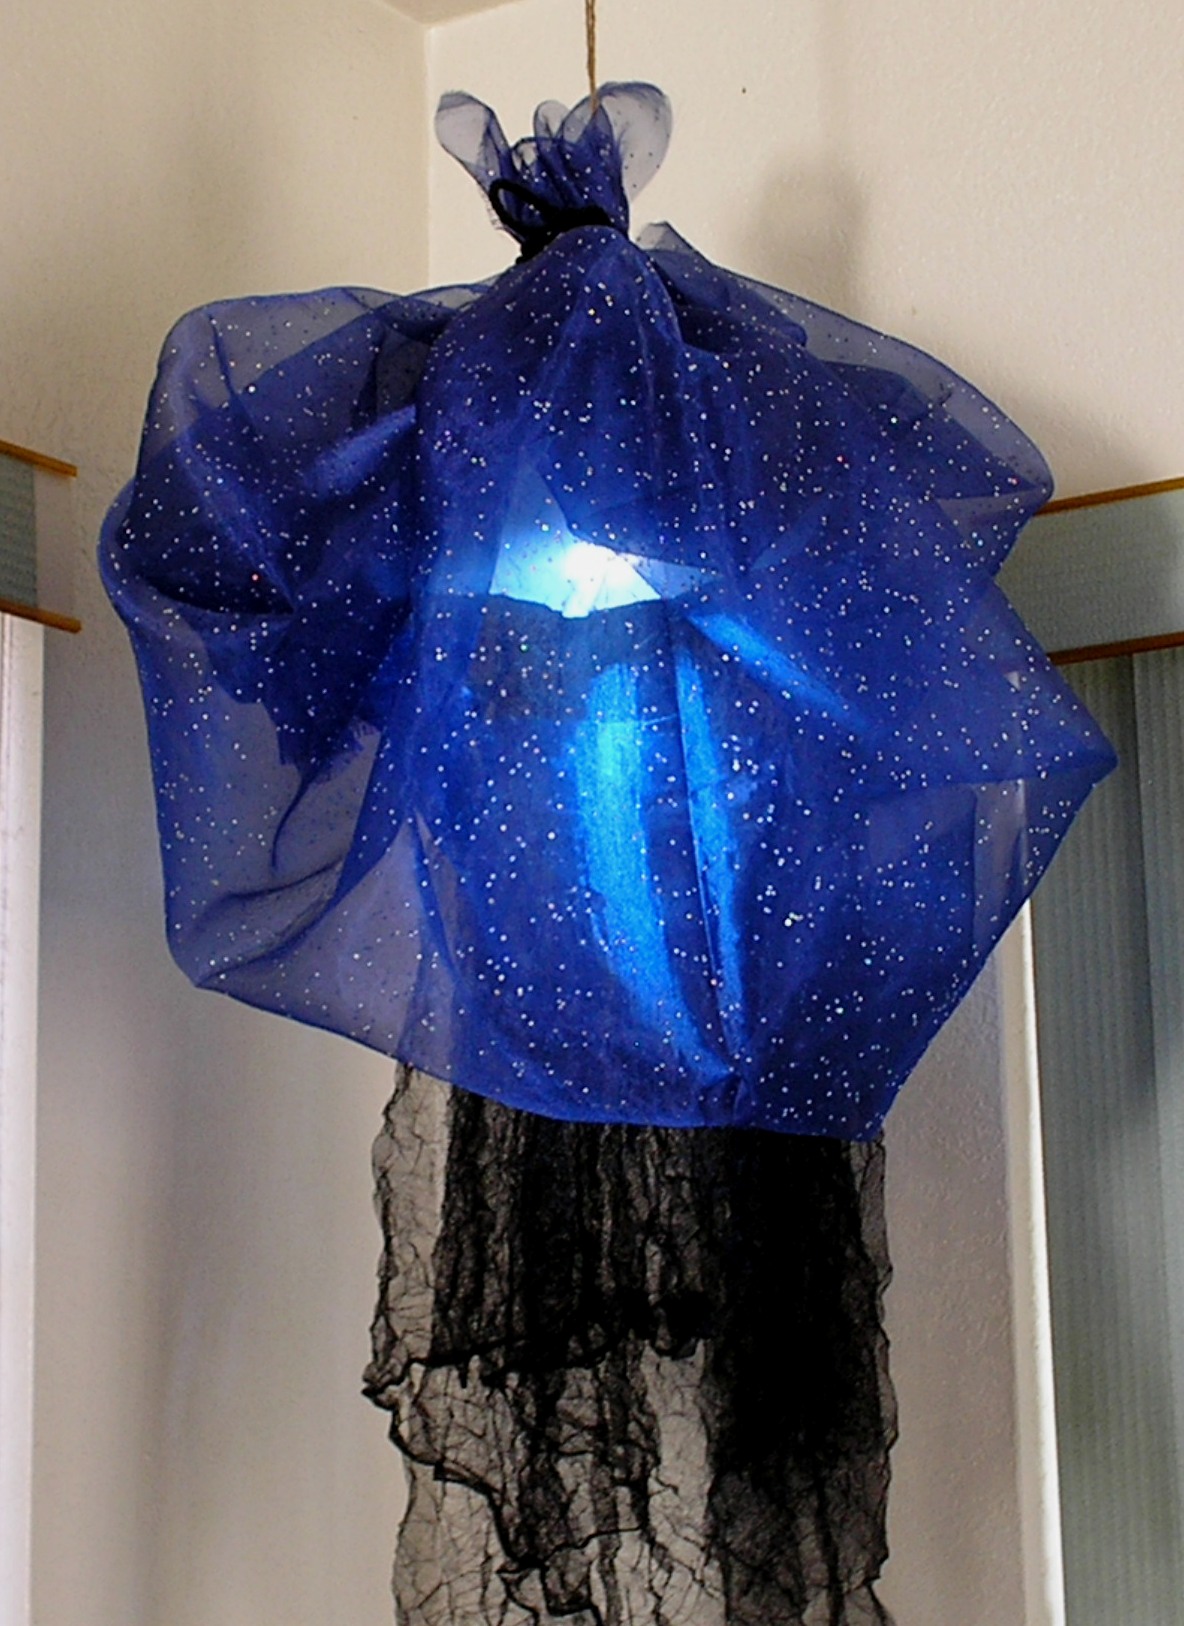
Drape the fabric.
Gathering and draping the fabric is easier to do while the lamp is hanging—allowing you to use both hands! Play with the layers of fabric until you like the way it drapes. Secure with a twist tie either just above your shade (for Version 1) or around the bottle neck (Version 2). Add a decorative ribbon or cord and you have a fabulous, magical (no outlet necessary), hanging lamp!