
This wreath is so simple to make. No sewing, no glue—just the wreath form, some  wire, and some beads.
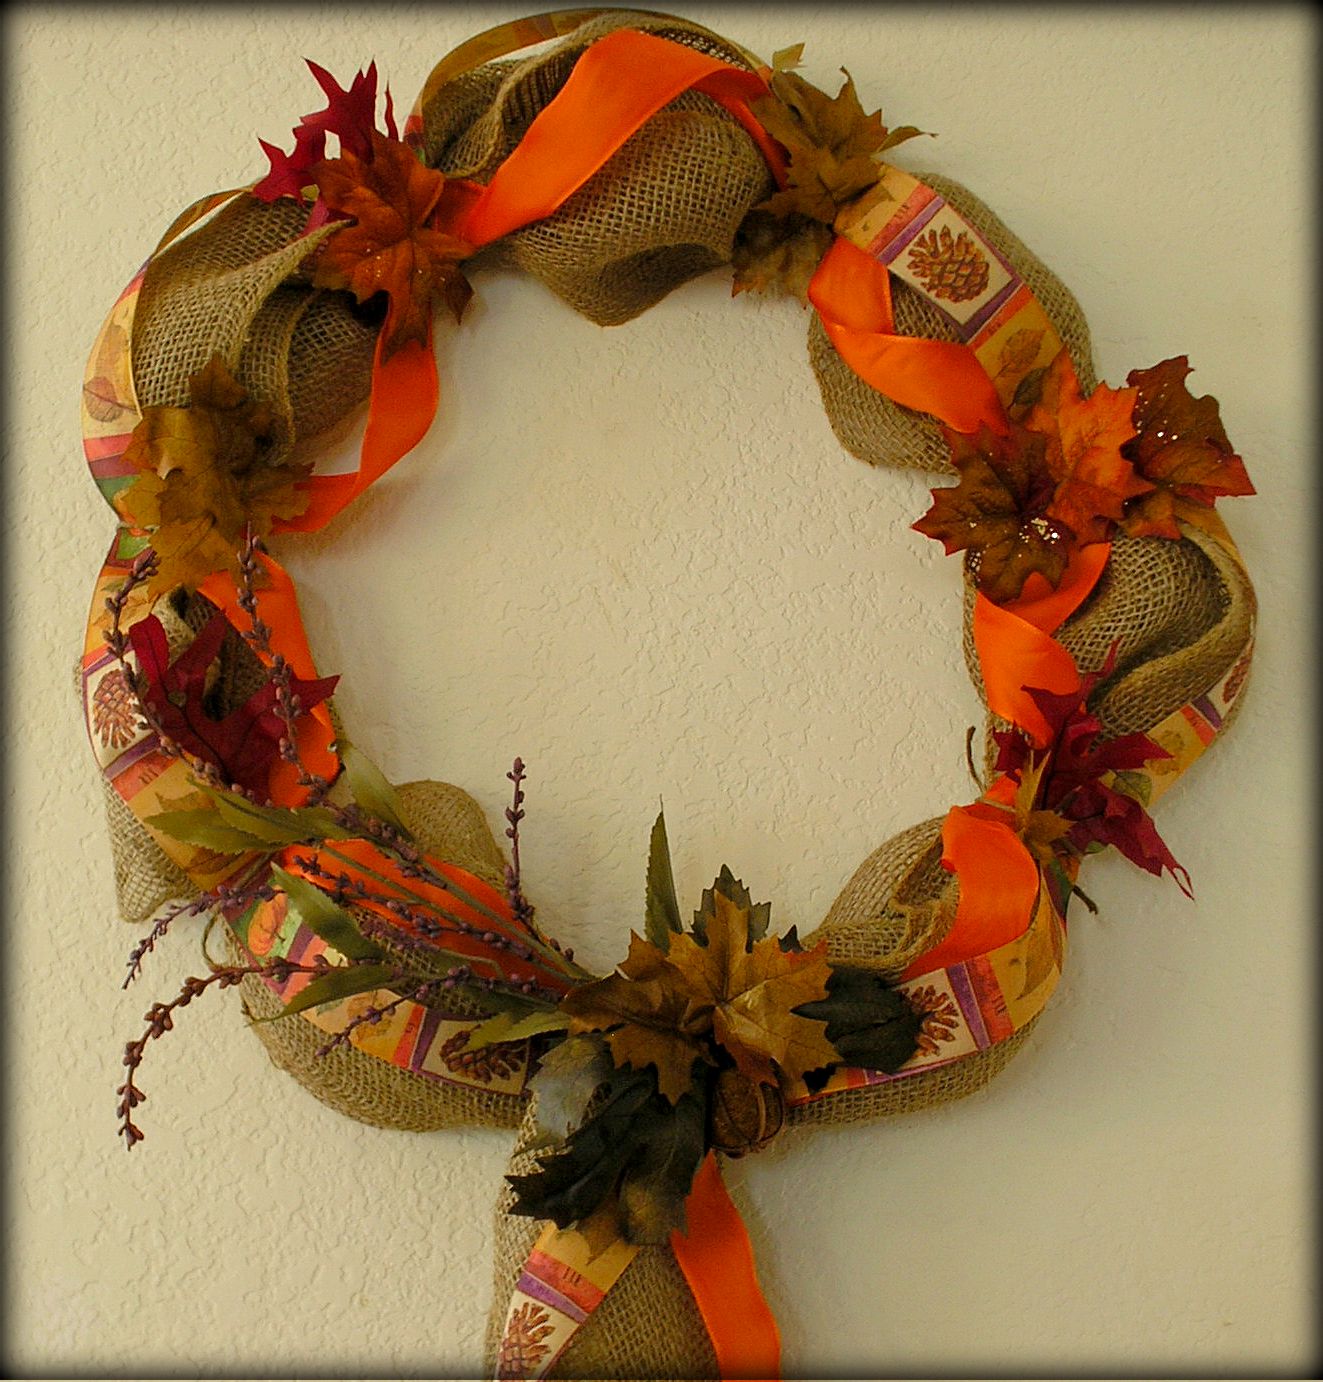
While traipsing through the aisles at Michaels craft store, I spied two adorably sweet burlap wreaths decorated with ribbons and silk flowers. This looked like a fun and simple craft to share! Of course, I had to change it up a bit…
Tools:
Burlap or Jute:
Burlap garland should be available by the roll at the local craft store. The strip is 10 yards long by 5/12 inches wide and it cost about seven dollars. In a pinch you could use strips of any stiff fabric.
Wreath Form:
There are several different types of wreath forms available at the local craft store. I used a metal form, but you might also try one of the flat wood forms. You can also craft your own by cutting a large circle from a piece of heavy cardboard.
Twist Ties/Wire:
You will need something to secure each section of fabric, I used floral wire but you could also use twist ties or pipe cleaners.
You will also need wire to go through your beads and buttons. You could use floral wire here also provided the wire fits through your bead. I used soft, copper jewelry wire.
Wire cutters
Ribbon, beads, and other embellishments.
Directions:
Measure out three strips of burlap. Each strip should be equivalent to 1 ½ time around your wreath to allow extra material for “poofing.”
Secure all three strips to your wreath with a twist tie. 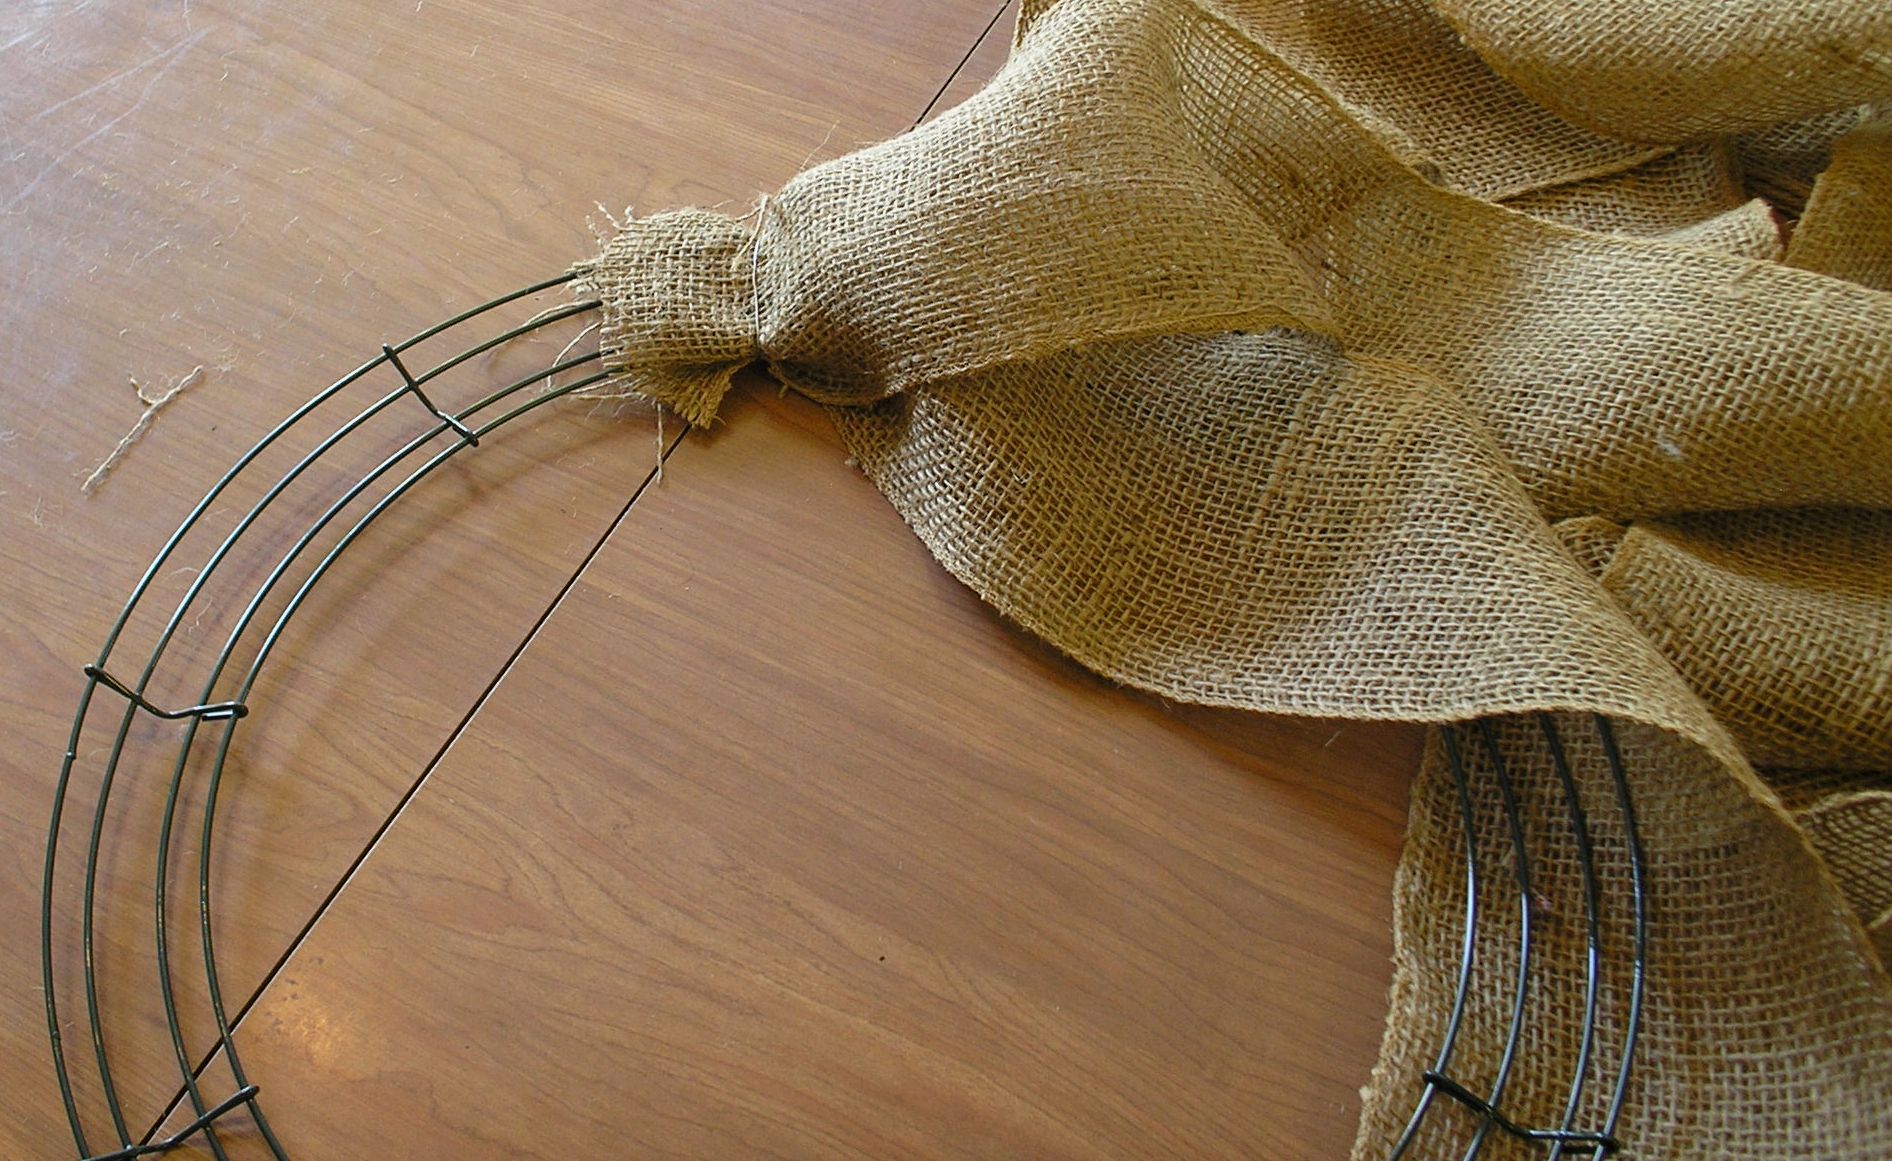
Now you can begin making your sections. This is basically fiddling with the three strips to make “poofs” around your wreath. Play with how the strips lay against each other. Try folding one strip a bit to add additional interest. Apply a twist tie at the end of each section.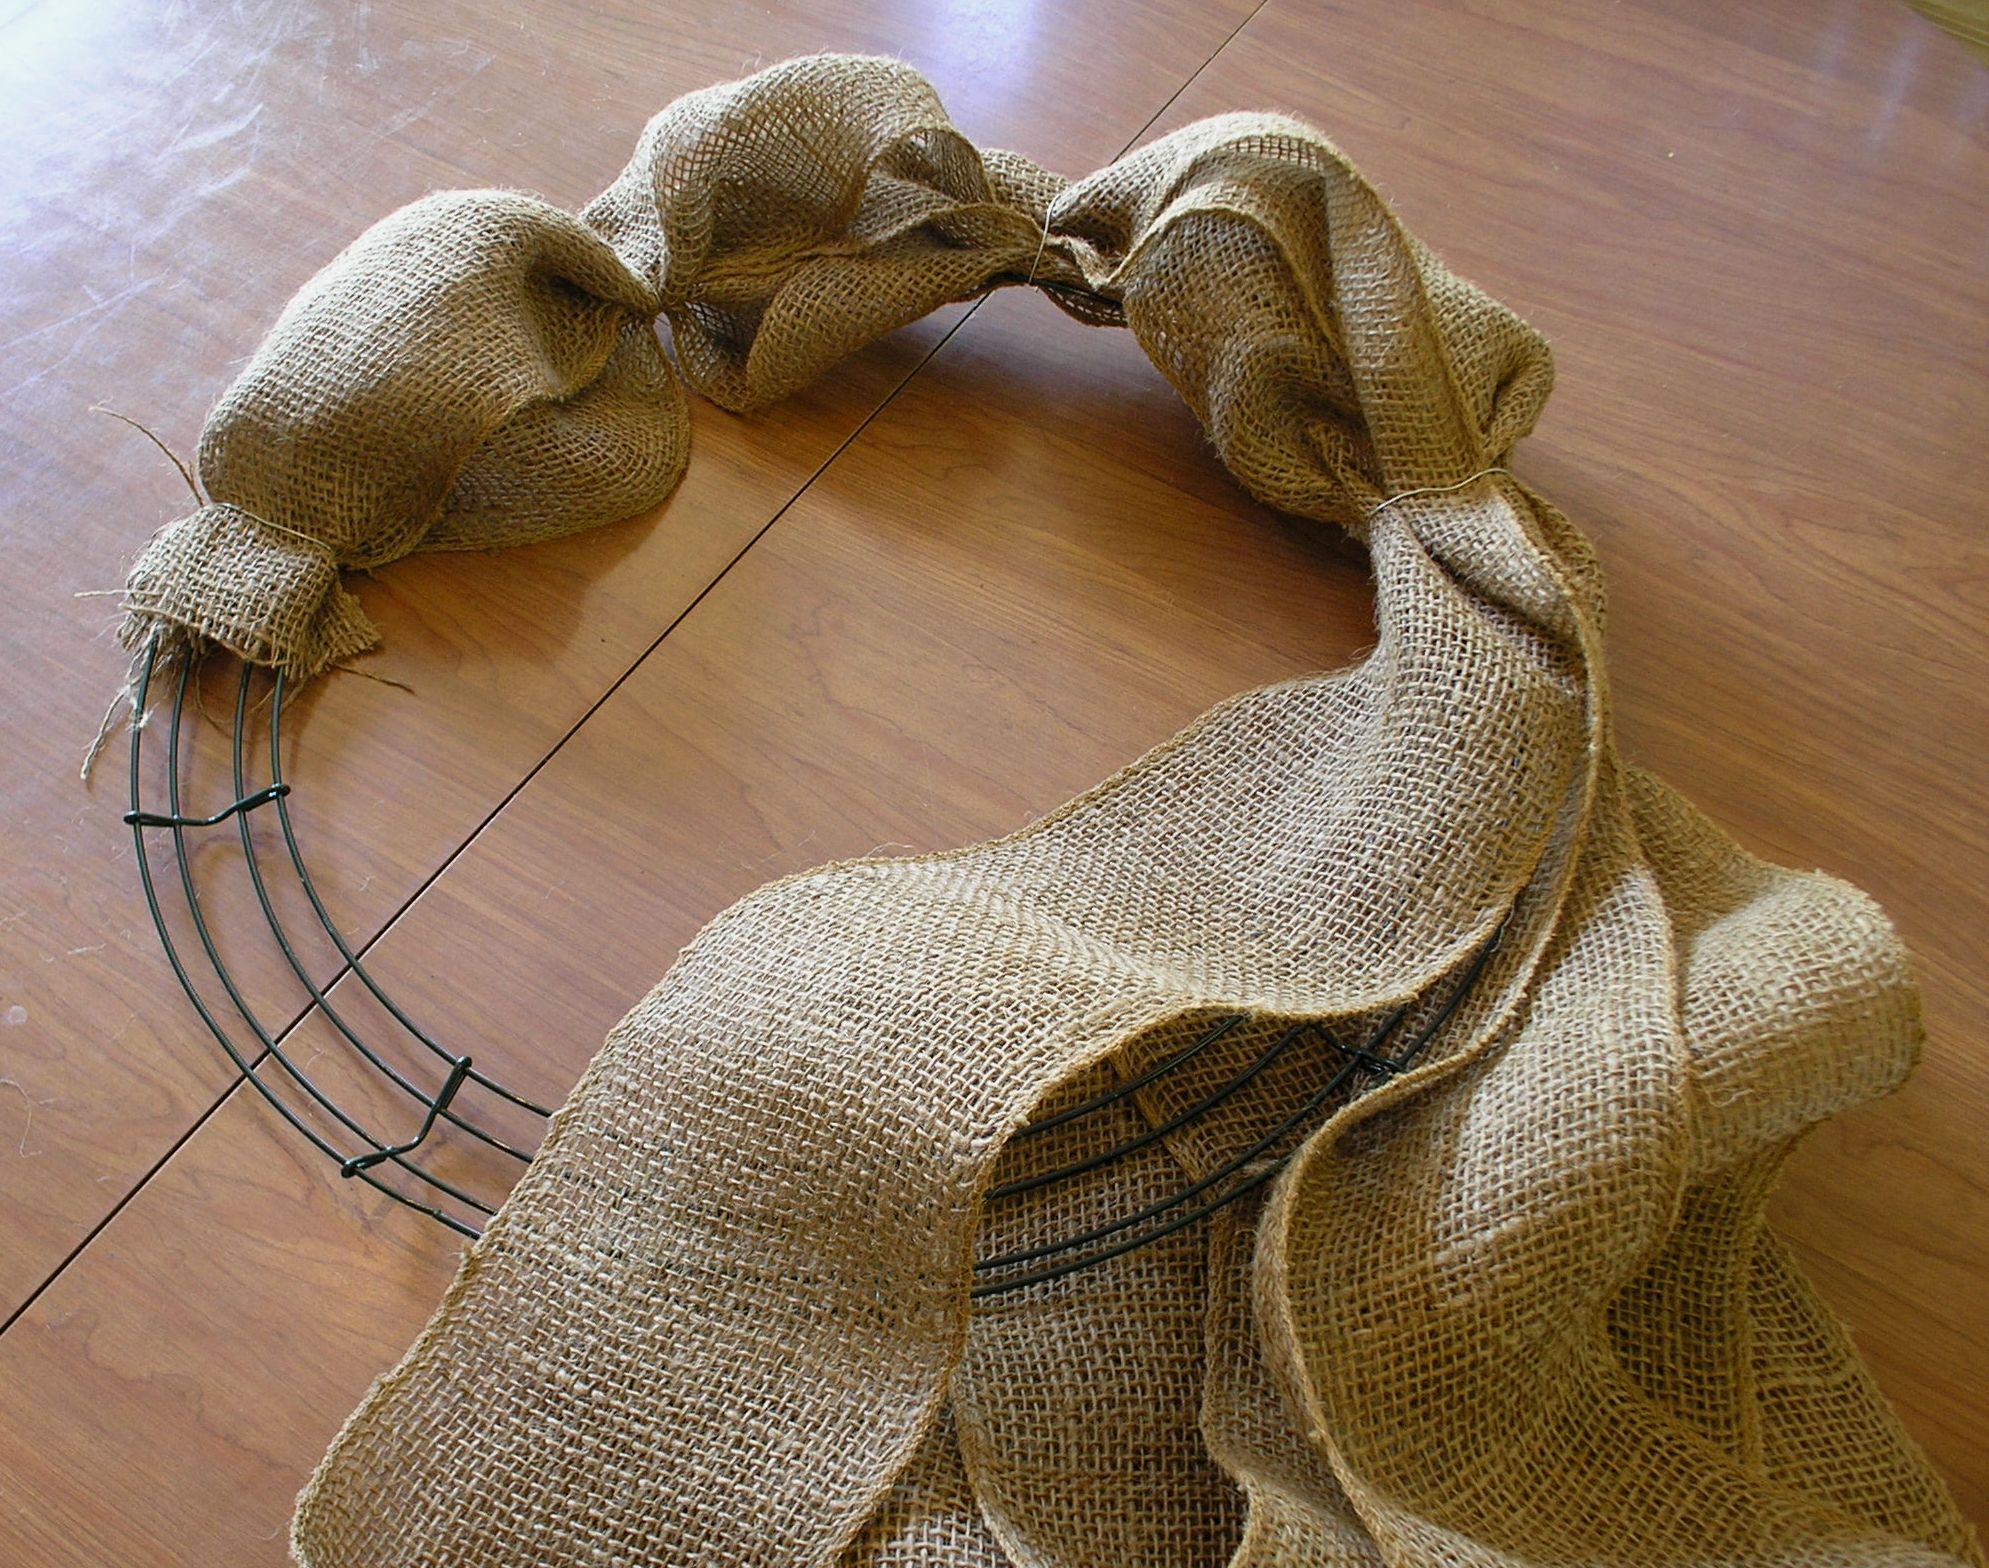
When you’ve worked you way around the wreath turn it over and trim your twist ties.
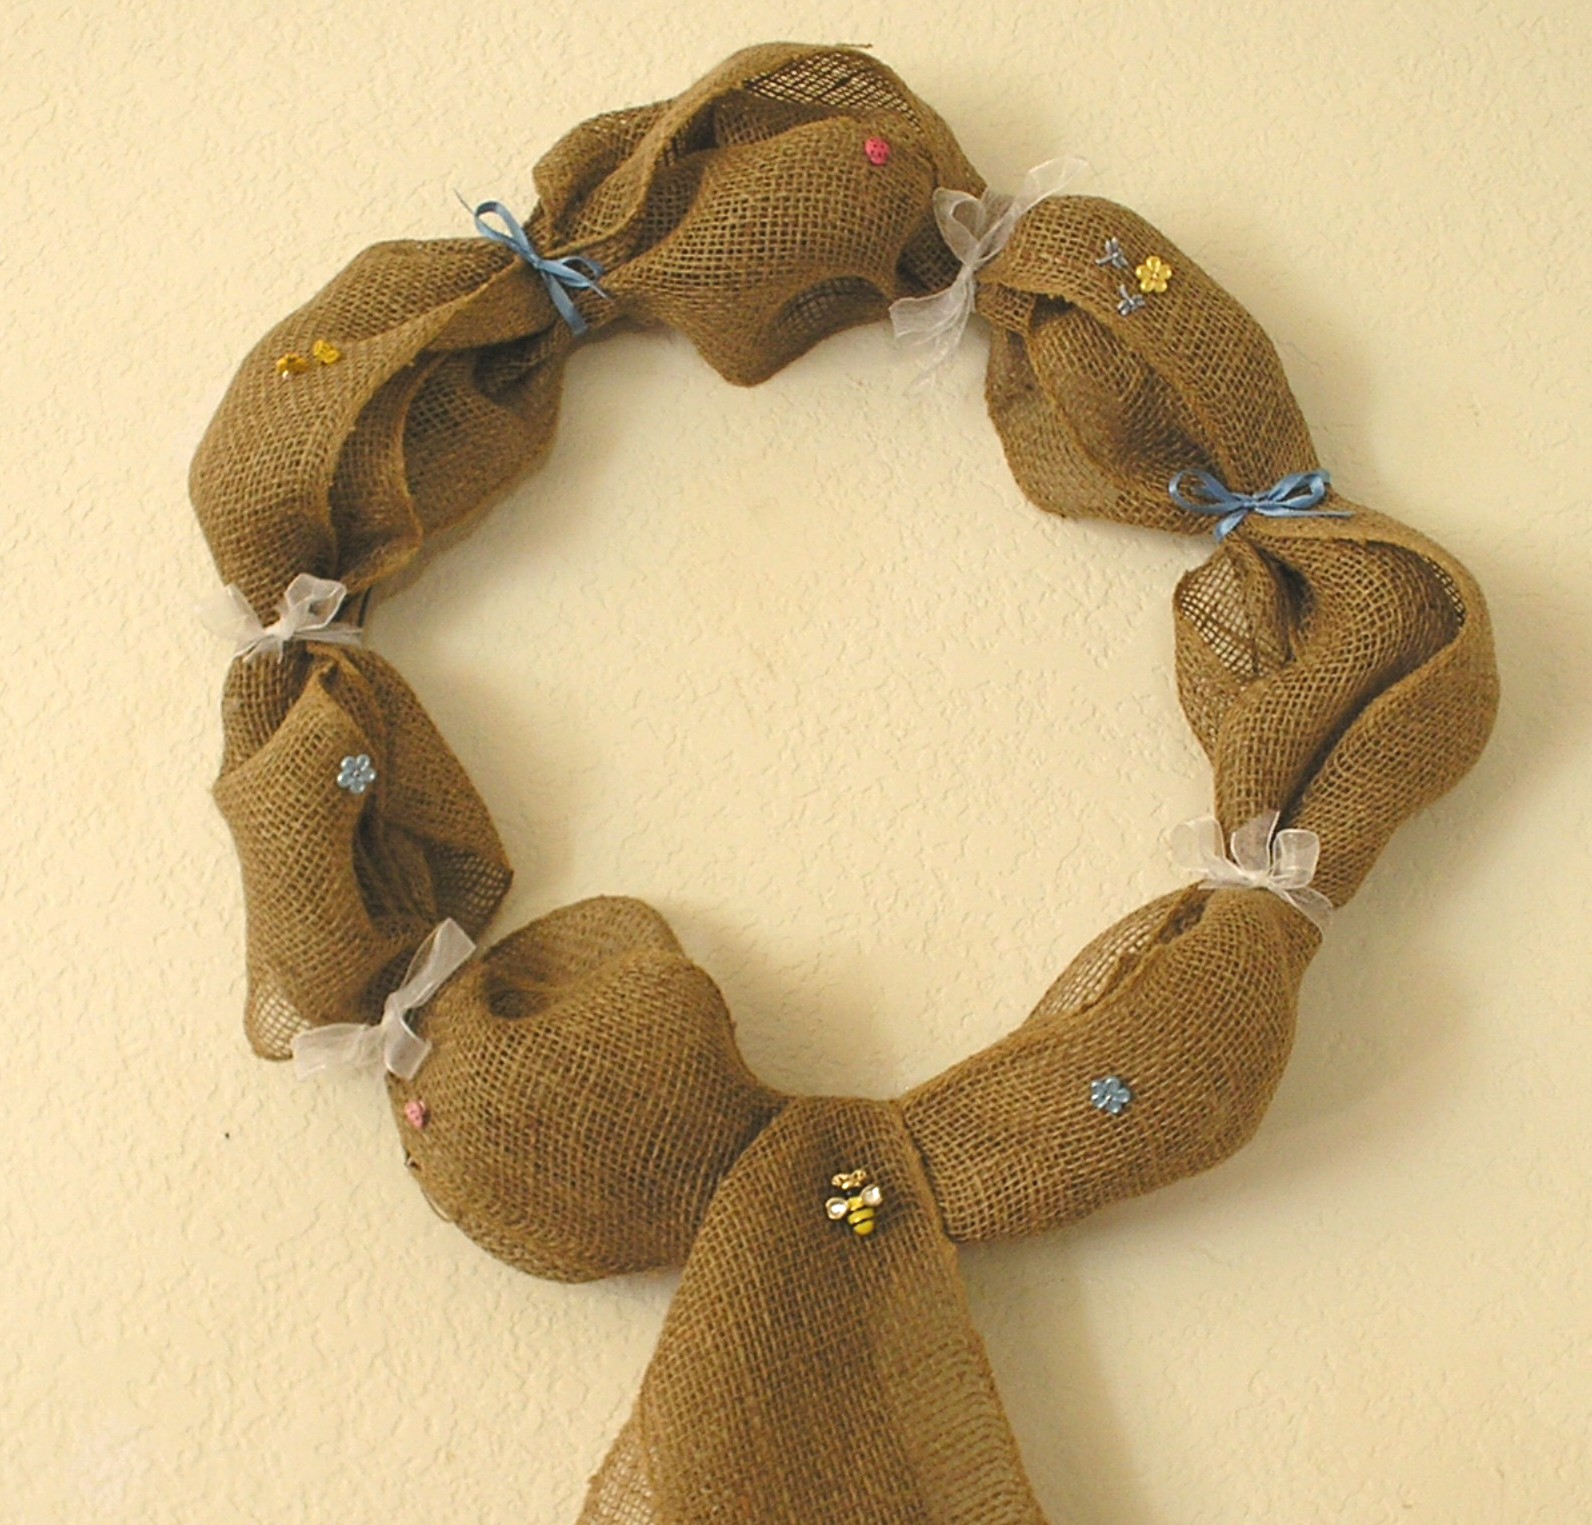
Now comes the fun part! It’s time to embellish your creation. If you will be tying ribbons around your gathered sections do so now.
Cut a length of wire for each bead or button. The length depends on how thick your bead is but two or three inches should do the trick.
Thread your bead or button onto the wire. Pinch the wires together at the back and twist the two ends together to form a pick.
Insert your picks into the burlap. They only need to go through one strip of fabric. Pinch the fabric between the bead and your wire pick to secure.
This is a very simple version that 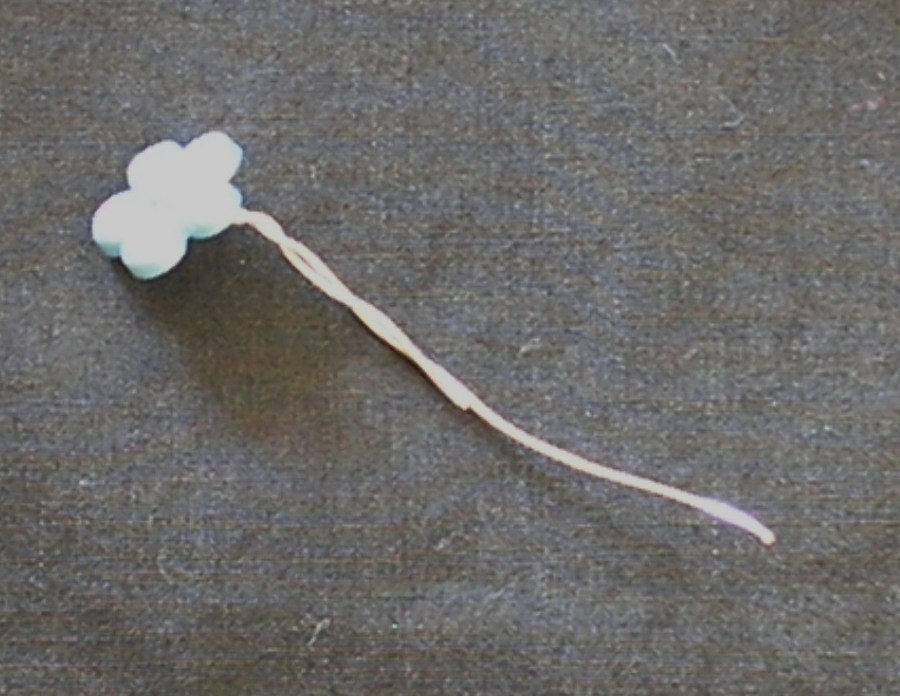 can be made even more decorative by applying some basic jewelry making techniques; since there is no glue or sewing to worry about, you can change the embellishments anytime!
 Show us your wreath! If you make a No-Sew-No-Glue Burlap Wreath we’d love to see it! Send me a note via the comment section if you’d like to post a picture of your wreath here at Museiddity.
It’s Bead Month at Museiddity! We’ll be exploring different ways you make beads at home plus we have a few guests coming to visit. Sign up to follow so you don’t miss the fun!
Update: See this wreath dressed up for Fall!
Check Out Another Easy Wreath! This Burlap Wreath with Corsage Style Ornaments only requires florist wire and a bit of florist tape.


Pingback: No Glue Burlap Wreath Dressed Up for Fall | Museiddity