 With so many clay products available on the market why would you want to make your own clay? Well, beyond the usual arguments of being non-toxic, affordable, and available on a whim (via your kitchen pantry), homemade clay adds a special charm. Having never made clay before, I narrowed my search down to two recipes and decided to do a comparison.
Recipe #1: School Glue Clay. I found this recipe demonstrated on YouTube by Hectanooga 1.
Ingredients:
1 teaspoon white school glue
1 teaspoon water
1 cup flour (approx.) added 1 tablespoon at a time.
Coloring—food coloring or acrylic paint (optional)
In a small cup stir the water into the school glue to blend. Add your choice of coloring until the mixture reaches your desired hue. Add 1 tablespoon of flour and mix well. Continue adding flour a little at a time. Once the dough begins to stiffen you can take it out of the bowl and work it with your hands.
Continue kneading flour into the dough until the dough is no longer sticky, then work the dough until smooth and no longer “grainy.” Wrap the dough in plastic to rest–about one hour. Once rested, knead again to condition the clay. (You can view a demonstration of this recipe on YouTube.) 
Air-dry your finished pieces for about an hour before baking. Bake at 200-225 for 15-20 min. Turn off oven and let them sit for a few minutes.
(I used acrylic paint for coloring. My items air dried for 90 min and baked on center rack for 20 min.)
Recipe #2: Salt & Flour Clay. This recipe is from Anne Marie Helenstine, PhD at Chemistry.com. Anne offers six recipes; this one stated it was good for hardened sculptures, jewelry, and ornaments.
Ingredients:
4 cup flour
1 cup salt
1 ½ cup water
In a large bowl combine the flour and salt. Slowly mix the water into the dough until dough is ready to knead. Knead until all flour is combined. Bake 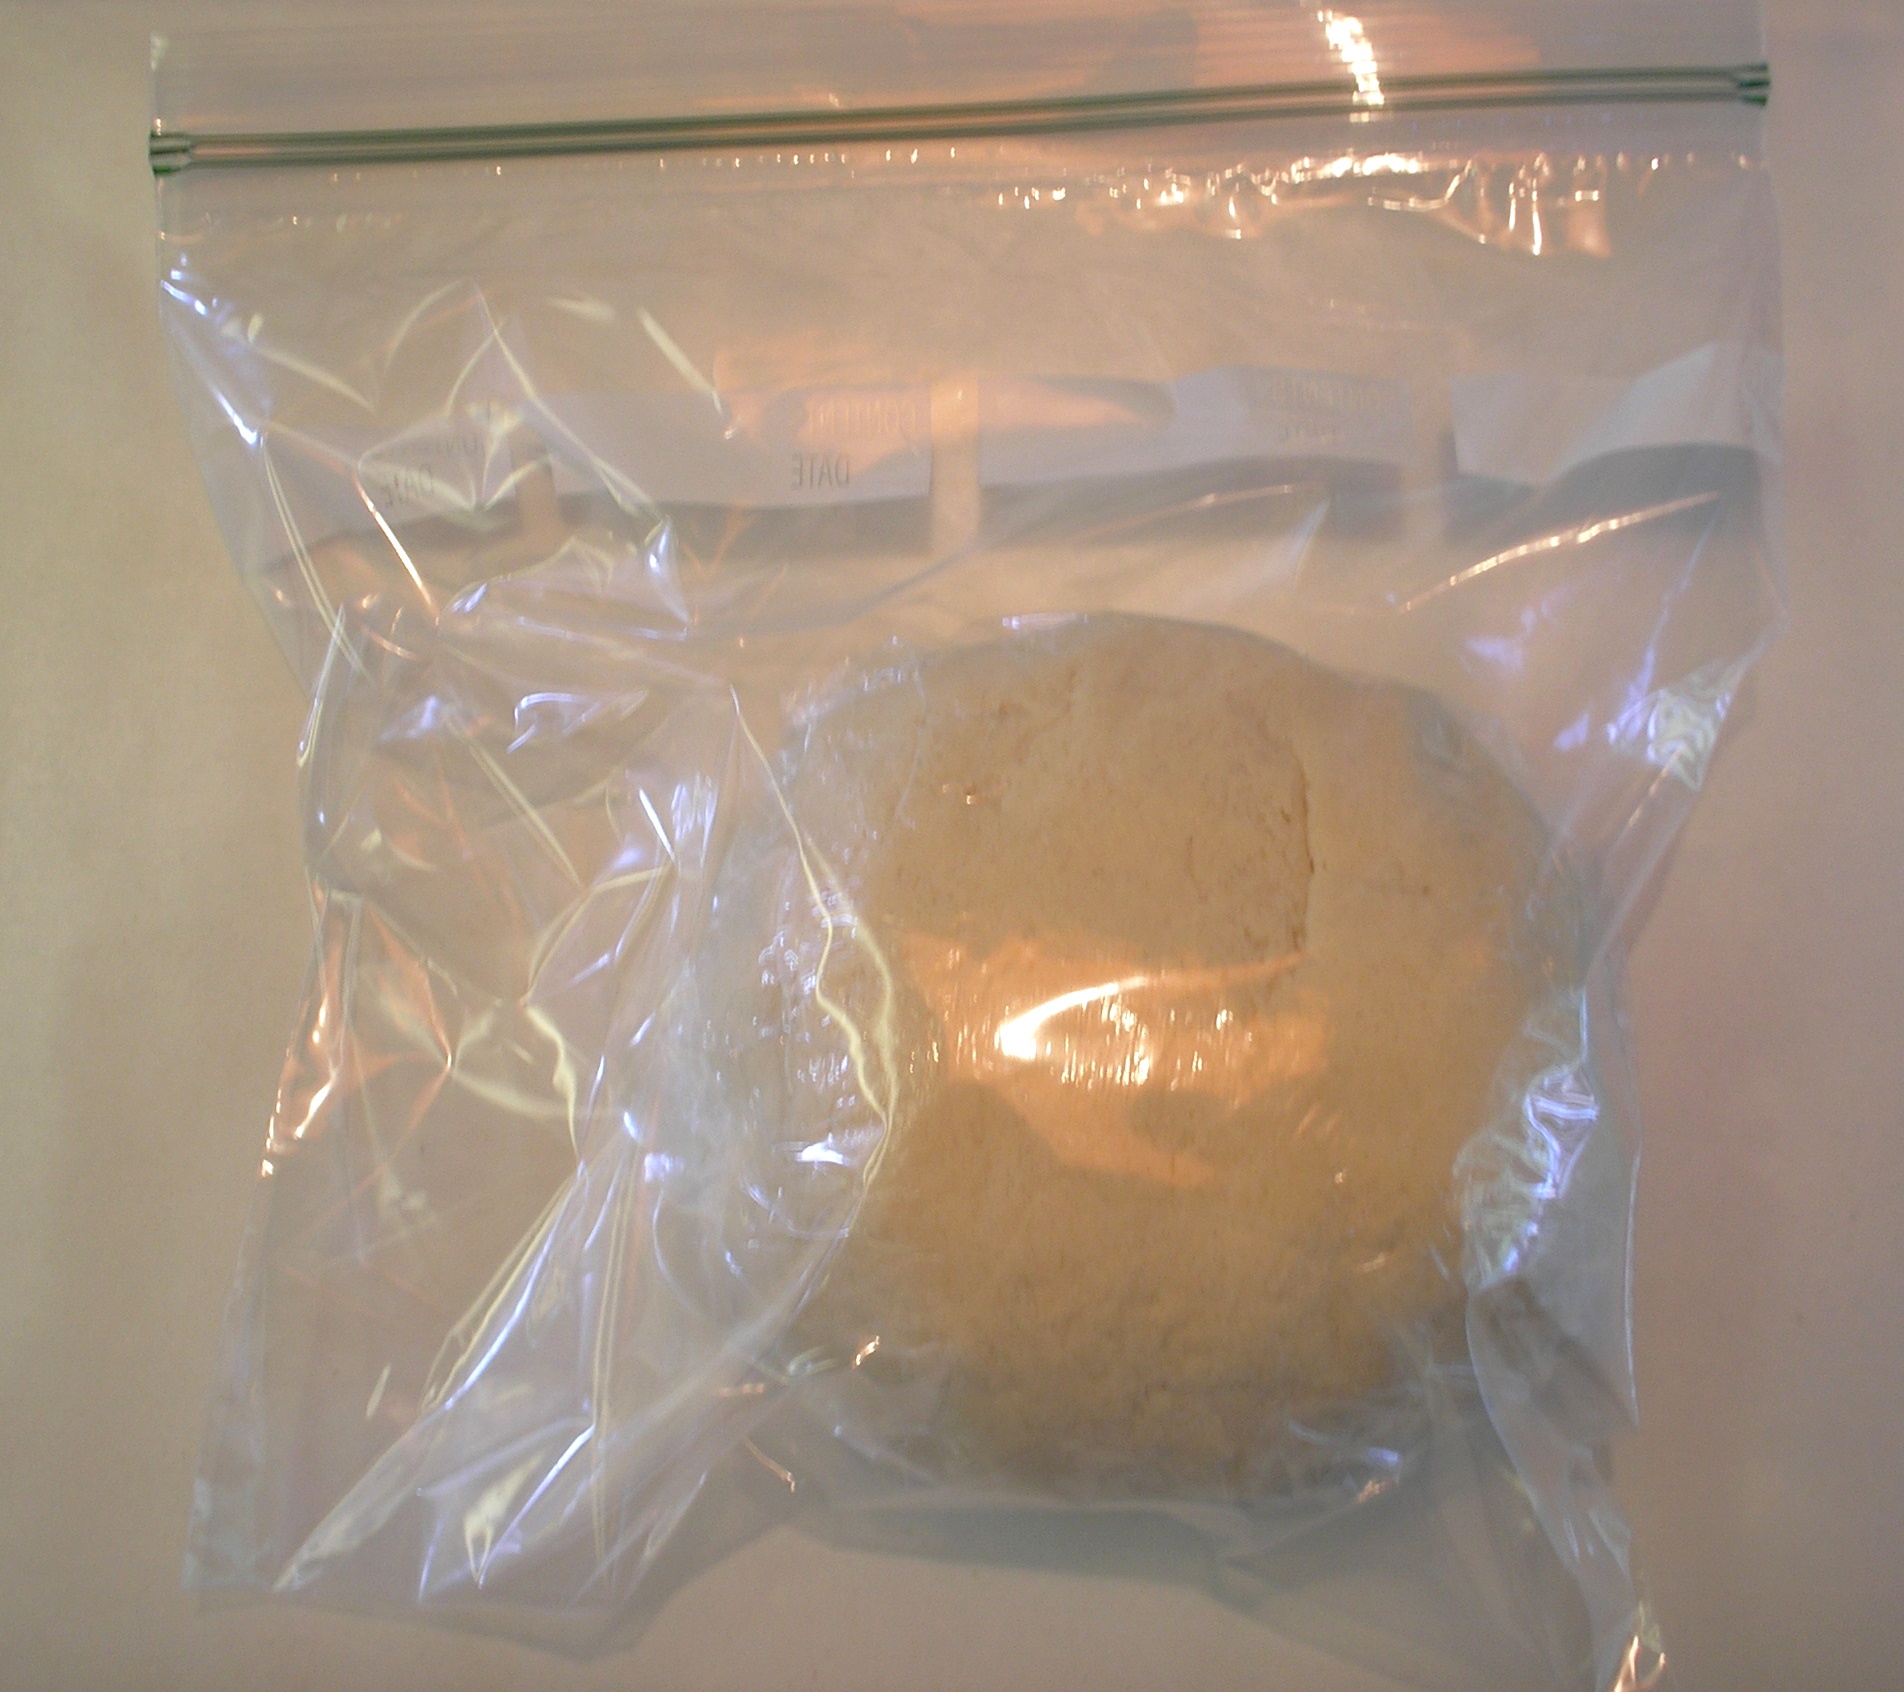 finished pieces on non-stick pan at 350 for 1 hour.
(My items air dried for 45 min. and baked for 30 min. I removed them early as they were turning brown)
Comparison:
Clay #1 made small, hand-sized batches. It took some time to knead in enough flour so that dough was no longer sticky. The consistency while kneading was somewhere between Playdoh and Silly Putty. It had a bit of elasticity. I found that moistening my fingers while working helped combine colors (for caning). You could probably sculpt small items with this clay, it’s pretty sturdy.
The “Glue Clay” held color after baking, even the batch made with metallic paint. Right out of the oven it offered a smooth, finished look. This recipe is good if you only want to make small batches, if you want the clay to have a base color, or if you want to skip painting altogether.
Clay #2 makes a big batch—think pizza dough! It took a bit of work to knead in all the flour. This one is rather grainy and doesn’t smooth out as well when working. Although you can make beads and pendants with this clay I don’t recommend it for sculpting unless you have an underlying support–it tends to sag while you’re working. Some of the items began to “puff” up while baking. Once removed from the oven the items resembled crackers.
After baking, the “Salt & Flour” clay retained a rough textured, rustic appearance. I like the way some of the pieces look aged or worn—sort of a funky vintage look. Some of the pieces began to get a little “gummy” while painting but firmed back up when the paint dried.
The second recipe is perfect for a rainy day with kids! Just make a big batch, roll it out, and let the kids use your cookie cutters. You won’t have to worry if they feed some to the dog (or themselves).
 Once baked the finished items from both recipe are surprisingly durable. I used an emery board to sand any rough edges, applied paint to a few items, and sealed all pieces with an acrylic sealer.
Have you ever made your own clay? Do you have any clay recipes to share?