Last Minute Centerpiece: Pumpkin Bouquet-Candle

pumpkin bouquet candle by rlcIt’s down to the wire for your Thanksgiving meal and your table looks under-dressed. The big question is…candles or flowers? Why settle for either one when you can have both? This bouquet-candle centerpiece is quick and easy to make. All you need is a small pumpkin, some dried rice, flowers, and a tea light!

When making a pumpkin bouquet one usually places a can or jar inside the pumpkin to act as a vase. Today’s bouquet-candle is different; the flowers go into the sides of the pumpkin and the tea light sits in the top. It’s really quick to make but will only last two days.

Craft Materials: pumpkin bouquet candle materials

  • 1 small pumpkin or other squash
  • Flowers (I suggest flowers that will sit close to the fruit—small mums work well)
  • ¼ – ½ cup dried rice
  • 1 tea light
  • Knife and scoop for cutting top off pumpkin and removing seeds
  • Awl or other sharp tool for holes (I used a Phillips screwdriver)
  • Vegetable peeler for rounding out top opening (optional)

Craft Steps:

  • Place dried rice in a small bowl and add water to cover. Allow to soak. Meanwhile…
  • Cut the top off your pumpkin, being careful not to puncture the bottom of the fruit. Remove pumpkin seeds and flesh
  • Round out the opening with the vegetable peeler
  • Poke holes for the flowers using the awl or other pointy tool. You will want to stay above the mid-line. Keep in mind that all flower stems should aim down to the bottom center of the pumpkin. Trypumpkin bouquet candle stems two rows of alternating punctures or, for a more classic look, make evenly-lined punctures only in the ribs of the fruit (as seen in the picture below).
  • Trim the flower stems and place the flowers in the holes. If you feel any resistance it might be fleshy strings on the inside of the fruit; simply scrape them away.
  • Strain the rice and carefully spoon it into the pumpkin, tapping lightly so it fills the entire chamber. pumpkin bouquet candle fill
  • Even off the top.
  • Seat the tea light in center.pumpkin bouquet candle alternative

Sending Warm Blessings for Your Thanksgiving Holiday

Advertisement

Gobble-Gobble Gourdy: A Quickly Crafted Critter

Gourd Turkey by rlcMeet Gobble-Gobble Gourdy. Created from a fresh gourd and an old pine cone, Gourdy will happily guard your display of Thanksgiving pies or take respite under a colorful fall bouquet.


Craft Materials:Gobble Gobble Gourdy set up

  • 1 colorful gourd, fresh or dried
  • 1 large pine cone with open seed scales
  • 1 small cone
  • Hot glue gun
  • Small saw or bolt cutter for severing stem


Craft Steps:

Determine how your gourd will sit and where you want to attach the head. Heat up your glue gun.

Using the largest pine cone, break or cut the very end of the fattest section. This will be the tail section of your turkey. (Note: The stem of a pine cone is quite tough so be prepared to build up an appetite.) Hot glue this end piece to the largest end of the gourd.

Gobble Gobble Gourdy back

From the remains of the large pine cone, pull off a few of the larger scales. These will be the tall tail feathers. Hot glue them to the sloping part of the gourd just above the end piece.

Glue the small pine cone into place at the small end of the gourd. This will be the turkey’s head.

Gourd Turkey front view by rlcnt

Add a snood for detail: (The snood is the fleshy part that hangs over a turkey’s beak.) From the remains of the large pine cone, pull off one small scale. Glue this onto one side of the turkey’s head.

“Gobble-Gobble”

DIY Gypsy Lamps (and a Giveaway)

Today is my final guest post over at Samhain’s Sirens. We’ll be making Gypsy Lamps and giving away a lovely lilac colored necklace with amethysts and moonstones. I’m happily sharing the craft post with you here, but to enter the giveaway you’ll need to go to the Samhain’s Sirens blog and enter by Monday morning at 6:00 am EDT. Here is a picture of the necklace being offered.

Creations by RLC widget pic

Gypsy Lamps

They say lighting sets the mood. Whether your style is gypsy or ghoul, you can completely transform your home and have light anywhere with the magic of an LED light specifically made for paper lanterns. LED Paper Lantern Light

Craft Materials:

  • Paper Lantern LED light (available at most craft stores–$9.99)
  • Three AAA batteries
  • Plastic bottle to use as the lamp shade
  • Craft knife or scissors
  • Cord, ribbon, or twine (length needed to tie around your LED and pass through your shade plus about 1 ft for gathering fabric. If you will be using the same cord for hanging the lamp include that measurement.)
  • Fashion chain (optional, for hanging lamp)
  • One or more large scarves or cuts of fabric for covering lampshade (old, torn & dyed pillow cases or rags will work as well)
  • Twist tie to help secure fabric around the shade (optional)
  • Twig or piece of wire to hold LED light (optional depending on type of bottle used)
  • Craft Paint or Wax Paper and tape (optional)

Craft Steps:

Choose your lamp shade.

The item you choose will ultimately determine the size and shape of your lantern. It should be sturdy enough to support the fabric and be at least three inches in diameter. Some ideas include the end of a 2 ½ gallon water jug, the bottom of a laundry detergent bottle, or a plastic sports bottle. Depending on which end of the bottle you use you will pass your hanging ribbon through either a small cut in the bottle or the neck of the bottle. If passing through the neck you will need to craft a support for your LED out of a twig or piece of wire. I’ll show an example of each version.

Prepare your bottle.

Remove any labels from your bottle. Decide which part of the bottle you will use and cut it down to the desired size. If the plastic is completely clear you can make it more opaque by taping large strip of wax paper around the bottle or applying a light coat of craft paint.

Place the batteries in the LED and insure it is working.

Measure your cord.

You will need enough cord to tie around the clip of the LED and pass back through the shade. To determine the length, measure from the top of your shade to the point at which you want the LED to hang. The length of cord needed will be twice this amount plus 10 inches if using a separate cord or chain for hanging. If using the same cord for hanging, figure the additional length needed into your measurement.

Version 1: Using the end of a bottle

Cut a small “x” in the center for means of threading the hanging cord.

Tie the cord around the clip of the LED, centering the LED on the cord.

Gypsy Lamp LED tie off

Decide how far above the LED you want the shade to sit and tie a knot at that point. Pass the ends of the cord through the underside of your shade (through the “x”) until the shade rests on the knot.

Gypsy Lamp thread through

If hanging your lamp directly from this cord, tie another knot just above your shade (so the cord does not fall back through. Braid or bead the remaining length of cord, forming a final loop at the end to allow for placement on a hook.

If you will be adding a separate hanging chain, create a small loop just above the shade to which you will attach your hanging chain

Version 2: Using the top of a bottle

Cut a piece of twig or wire to fit snug just below the neck of the bottle; this will act as a harp to support the shade.

Gypsy Lamp harp

Tie the cord around the clip of the LED.  Decide how far above the LED you want the shade to sit and tie a loose knot. Insert your twig through the knot and tighten. Pass the ends of the cord through the neck of the bottle until the shade rests on the twig.

If hanging your lamp directly from this cord, braid or bead the remaining length of cord and finish off with a loop to allow for placement on a hook.

If you will be adding a separate hanging chain, create a small loop just above the shade to which you will attach your hanging chain.

Drape the fabric.

Gathering and draping the fabric is easier to do while the lamp is hanging—allowing you to use both hands!  Play with the layers of fabric until you like the way it drapes. Secure with a twist tie either just above your shade (for Version 1) or around the bottle neck (Version 2).  Add a decorative ribbon or cord and you have a fabulous, magical (no outlet necessary), hanging lamp!

DIY Gypsy Lamp

No Glue Burlap Wreath Dressed Up for Fall

Fall Burlap Wreath by RLCI finally invited autumn into our home. To me, a wreath is a sign of welcome and prosperity; an invitation for each season to share her gifts. So today, I re-dressed my No Sew No Glue Burlap Wreath in the colors of the season.

For those of you who missed the original post, below is a picture of my summer wreath. The beauty of this wreath is that it is so easy to change it up for each season or holiday. By creating decoration “picks” there is no need for glue. You can make the wreath as thick and “poufy” as you like just by altering the amount of material you use, how many sections you create and how much you “pouf” the fabric. (Click here for original instructions).  Burlap Wreath Summer by RLCA

For the fall makeover I removed all the buttons and ribbons from the original wreath. Next, I chose two types of ribbon—tucking one end of each under the wire behind the burlap fabric at the bottom (you could also pin the ends in place). I brought the ribbons around the wreath, tying them into place with some twine.

Imitation flowers tucked under the same hidden wire behind the fabric at the bottom along with a pick made from some fall leaves (clipped from a garland) create the focal point. The makeover took about ten minutes.

Burlap Wreath Fall Focal by RLC

Check Out Another Easy Wreath
This one is made in the same way but with wired stems that twist into place! Autumn Burlap Wreath by RLC

Do you enjoy making wreaths? Tell us about your favorite! What types of base do you prefer? Silk flowers or dried? Is there a family story that goes along with your wreath?

What’s on Your Craft Bench?

On the Workbench by rlcI thought I’d take a moment to share some of the of the things I’ve been working on and invite you to share your own projects.

Lately, I’ve been in jewelry mode. I decided to create some resin pendants using Halloween-themed pictures I drew a few years ago. It’s fun to take the original illustration and use photo editing to apply different techniques–each pendant comes out unique!

Red Flight bracelet by RLCJust to show the difference, here is a picture of bats flying with the moon in the background. But in one version the moon seems to be bleeding (and has an extra bat), the other (in the picture below) is more sepia toned.


On the Workbench Items by rlc

I reverse-painted some clear pendants and ended up with some really neat effects! I especially like the blue one (in the picture here), but there was a lovely, shimmering lilac colored pendant that became the focal for this necklace.

Creations by RLC widget pic

I’ll be adding the finished projects to my shop as I go along. I just recently added these two. One is original artwork in resin, the other is a Dia De Los Muertos lariat necklace featuring hand-formed and hand painted clay skulls. Passkey and Los Muertos by RLCby RLC

So, that’s what’s on my bench right now–what’s on your bench? Are you making crafts for Halloween or stitching gifts for Christmas? Are you trying something new? Do you have a craft to share? Let us know!


Create an Eerie Gallery of Illuminated Picture Boxes

Illuminated Picture Boxes for HalloweenBe the curator of your own ghostly museum! These DIY light boxes are a fun way to light up your hallway, bathroom, or fireplace mantel.

I shared this craft last Friday with the folks at Samhain’s Sirens but thought it was so fun I’d re-post the craft here!


Craft Materials:

  • Empty boxes—one for each illuminated picture. These will be your frames.
  • Ruler to measure the “window” size for your print.
  • Item to trace for “window” (optional)
  • Vellum for printed picture (about .99 cents at the craft store; scrapbook section)
  • Computer and computer printer for printing picture onto vellum
  • Paint, pretty paper, or other embellishments to decorate frame
  • Craft knife or scissors
  • Tape
  • Glow stick or battery operated light source. (I used the submersible LED lights I talked about in Light Up Your Party. They have a clip on the back to hold them onto the box/frame)


Craft Steps:

Choose an empty box—an empty cereal box or tissue box will work nicely. Tape closed any open ends and cut a large opening out of the back side of the box.

Illuminated Picture Boxes one

Lay the box face down and measure or trace your desired picture window opening (I used the lid to a can). Cut out the opening.

Illuminated Picture Boxes two

Measure your window to determine the needed size of your printed picture. If you will be painting your box you might do this now so it has time to dry.

Illuminated Picture Boxes three

Using your computer, choose a photograph or illustration to print. You might want to manipulate the image using photo editing software. Save the image.

Decide how you will print the image and print a test page on regular paper.

How you print the image depends on your equipment. I use my Word program and insert the image onto a document. The rulers on my screen help me to size the image.

Check your test page against the window you cut from your box. If you are happy with the size then print a final copy onto a piece of vellum. Note: Vellum does not take ink as well as regular printing paper, so be prepared to allow a few minutes of drying time. Your image might have roller lines or other ink imperfections but that just adds character to your final work. (wink*)

Cut out your image allowing enough of a border for taping to the box.

Samhain Greetings by RLC

Place your box front down on a table. Place your image face down inside the box. Check the placement to be sure the image is correctly positioned in the window. Tape the image to the inside of the box.

Illuminated Picture Boxes five

Finish decorating your frame. When the time comes to illuminate your box simply tape a glow stick—those little sticks you break and shake—or a small, battery operated light source to the inside bottom ledge of your box.

Illuminated Picture Boxes Samhain Greetings

I’d love to see your gallery! Send me a note or leave a comment if you want to share your picture boxes with Museiddity readers.

Light Up Your Party!

You have your decorations up, your costume made, and your menu planned—have you thought about your lighting? When planning your Halloween gathering your choice of lighting is as important as your menu. After all, nothing ruins a mood faster than turning on the lights! This means your lighting needs to pull double duty—provide atmosphere and enough light for people to see by. One of the most versatile lighting options I’ve found is the submersible LED.

Basically, these are bright, tiny flashlights that possess a watertight seal when turned on—perfect for illuminating potions or specimen jars! You’ll findSubmersible LED Lights submersible LED lights in the floral section of your local craft store. Available in several colors, they turn on with a simple twist of cap and some of them have a handy clip on the back to allow for more flexible placement options.

Your buffet table is the perfect place to begin planning your lighting. How do you create a mood and keep the food looking appetizing while using a minimum amount of space? Illuminated jars will serve you well here by providing both light and acting as raised pedestals for serving dishes. Fill a few jars with water and place a submersible LED in each jar. You can add food coloring to the water, some fresh herbs for an underwater effect, or plastic body parts. Cover the jars with lace or gauzy fabric for a more muted light.

Submersible Lights in Buffett SettingA

The bathroom provides another lighting challenge. Try adding a couple of submersible LED lights to a vase of flowers; in addition to a fairly bright light the flowers will provide a nice shadow effect. (Tip: add purple or black food coloring to the water and the flowers will turn a darker color.) Illuminated jars will work here as well; try tucking one out of site behind the toilet or filling the shower with specimen jars. If you have a tub, fill the tub with colored water and anchor a few of these LED lights in the bottom. Create a scene in the tub—maybe a gruesome mask amongst floating vines.

The tiny size of these lights allows you to tuck them just about anywhere; they don’t have to be in water. Clip them to your other decorations, hide them on top of the cabinets…let your imaginations go! Just don’t let the dog eat them.

Best Intentions…Interrupted

I had so many plans for September–fill my shop for the holidays, share some terrific Halloween crafts, host a contest,…. then the bug from Hades came to visit (seriously, it’s going on three weeks now!) So, October may not be as grand as I originally intended, but I plan to move forward and share what I can.  In the meantime, you can join me each Friday in October over at Samhain’s Siren’s.

Samhain is the Celtic New Year, and the precursor to what we now call Halloween. Samhain’s Sirens is a fun group of  people joined by the common love of the season. Each Friday in October I’ll be sharing a craft and hosting a giveaway.  Come on by! There will be recipes, gifts, and stories to celebrate the season.

Guest Post: Interview with Scrapbook Artist Tracy Carrig

It’s always fun to give a little boost to a new artsy friend! So, today we’re joining in on a little virtual party for scrapbook artist, Tracy Carrig. Our party hostess is Briana Vedsted, author of A Girl Named Cord. I hope you enjoy Briana’s interview with Tracy. You can see more of Tracy’s work on Pinterest or catch up with her via her social links posted below.

Interview by Briana Vedsted

Tracy's Scrapbook PageBriana: So, what is “scrapbooking”?

Tracy: Simply put, scrapbooking is putting beautiful, fun paper, photos, and memorabilia together to tell a story. Think of it as enhancing your photos.  They say a picture is worth a thousand words.  What if you don’t know what those words are.  Scrapbooking allows you to remember all the stories, jokes, heartfelt moments, and everyday life, and share the memories with family and friends.  Imagine looking at a photo from someone else’s life.  The photo by itself may give you some hints.  Now if the photo were scrapbooked, the story behind the photo would also become clear.  Scrapbooking is a fun way to share and remember your story for years to come.

Briana: And what in the world is Memory Works?

Tracy: I like to call Memory Works the Mary Kay of the scrapbooking world.   Memory Works carries scrapbooking products from all the big names (Fancy Pants, Pink Paislee and BoBunny, to name a few), as well as their own line called Simple Stories.  Memory Works also offers a monthly kit subscription for $29.95 (plus shipping, handling, and sales tax).  Each themed kit is packed with coordinated papers and embellishments from different brand name companies.

In addition, Memory Works offers a Hostess Incentive.  This is a free gift to the party hostess can earn if the party results in an order of $150.00 (before tax).  I like to offer this as well if there is either a single order from a customer of $150, or if there is a group of customers, though not necessarily at a party,  that order enough supplies to meet to required minimum.  The incentive changes every month and can be anything scrapbooking related, from a collection of patterned papers to a stamp set to a few specific items from a brand name collection.

Briana: Is scrapbooking hard to do?

Tracy: Scrapbooking should be fun, so, no– it’s not hard to do.  If you find you’re having difficulty, take a step back.  See where you’re getting stuck.  Are you trying to re-create a technique or layout and it’s not coming together?  Do you not understand the terminology?  Take me for example.  I know this much about knitting and crocheting.  Now I know the terms knit and perl.  Did I spell them right?  No idea.  Can I tell you what they mean?  Nope, sorry.  I learned a lot of the terms from magazines and websites.  And for me, it clicked.  I kept wanting more and more.  So it shouldn’t be hard.  Again, if you’re running into trouble, try to pinpoint what exactly is giving you pause.  Sometimes you need clarification, or to just tell yourself there are no mistakes.  I really enjoy it and I’m always learning something new, so there’s no limit to what you can create.  I’ve found if you love it, you stick with it and your style evolves from there.

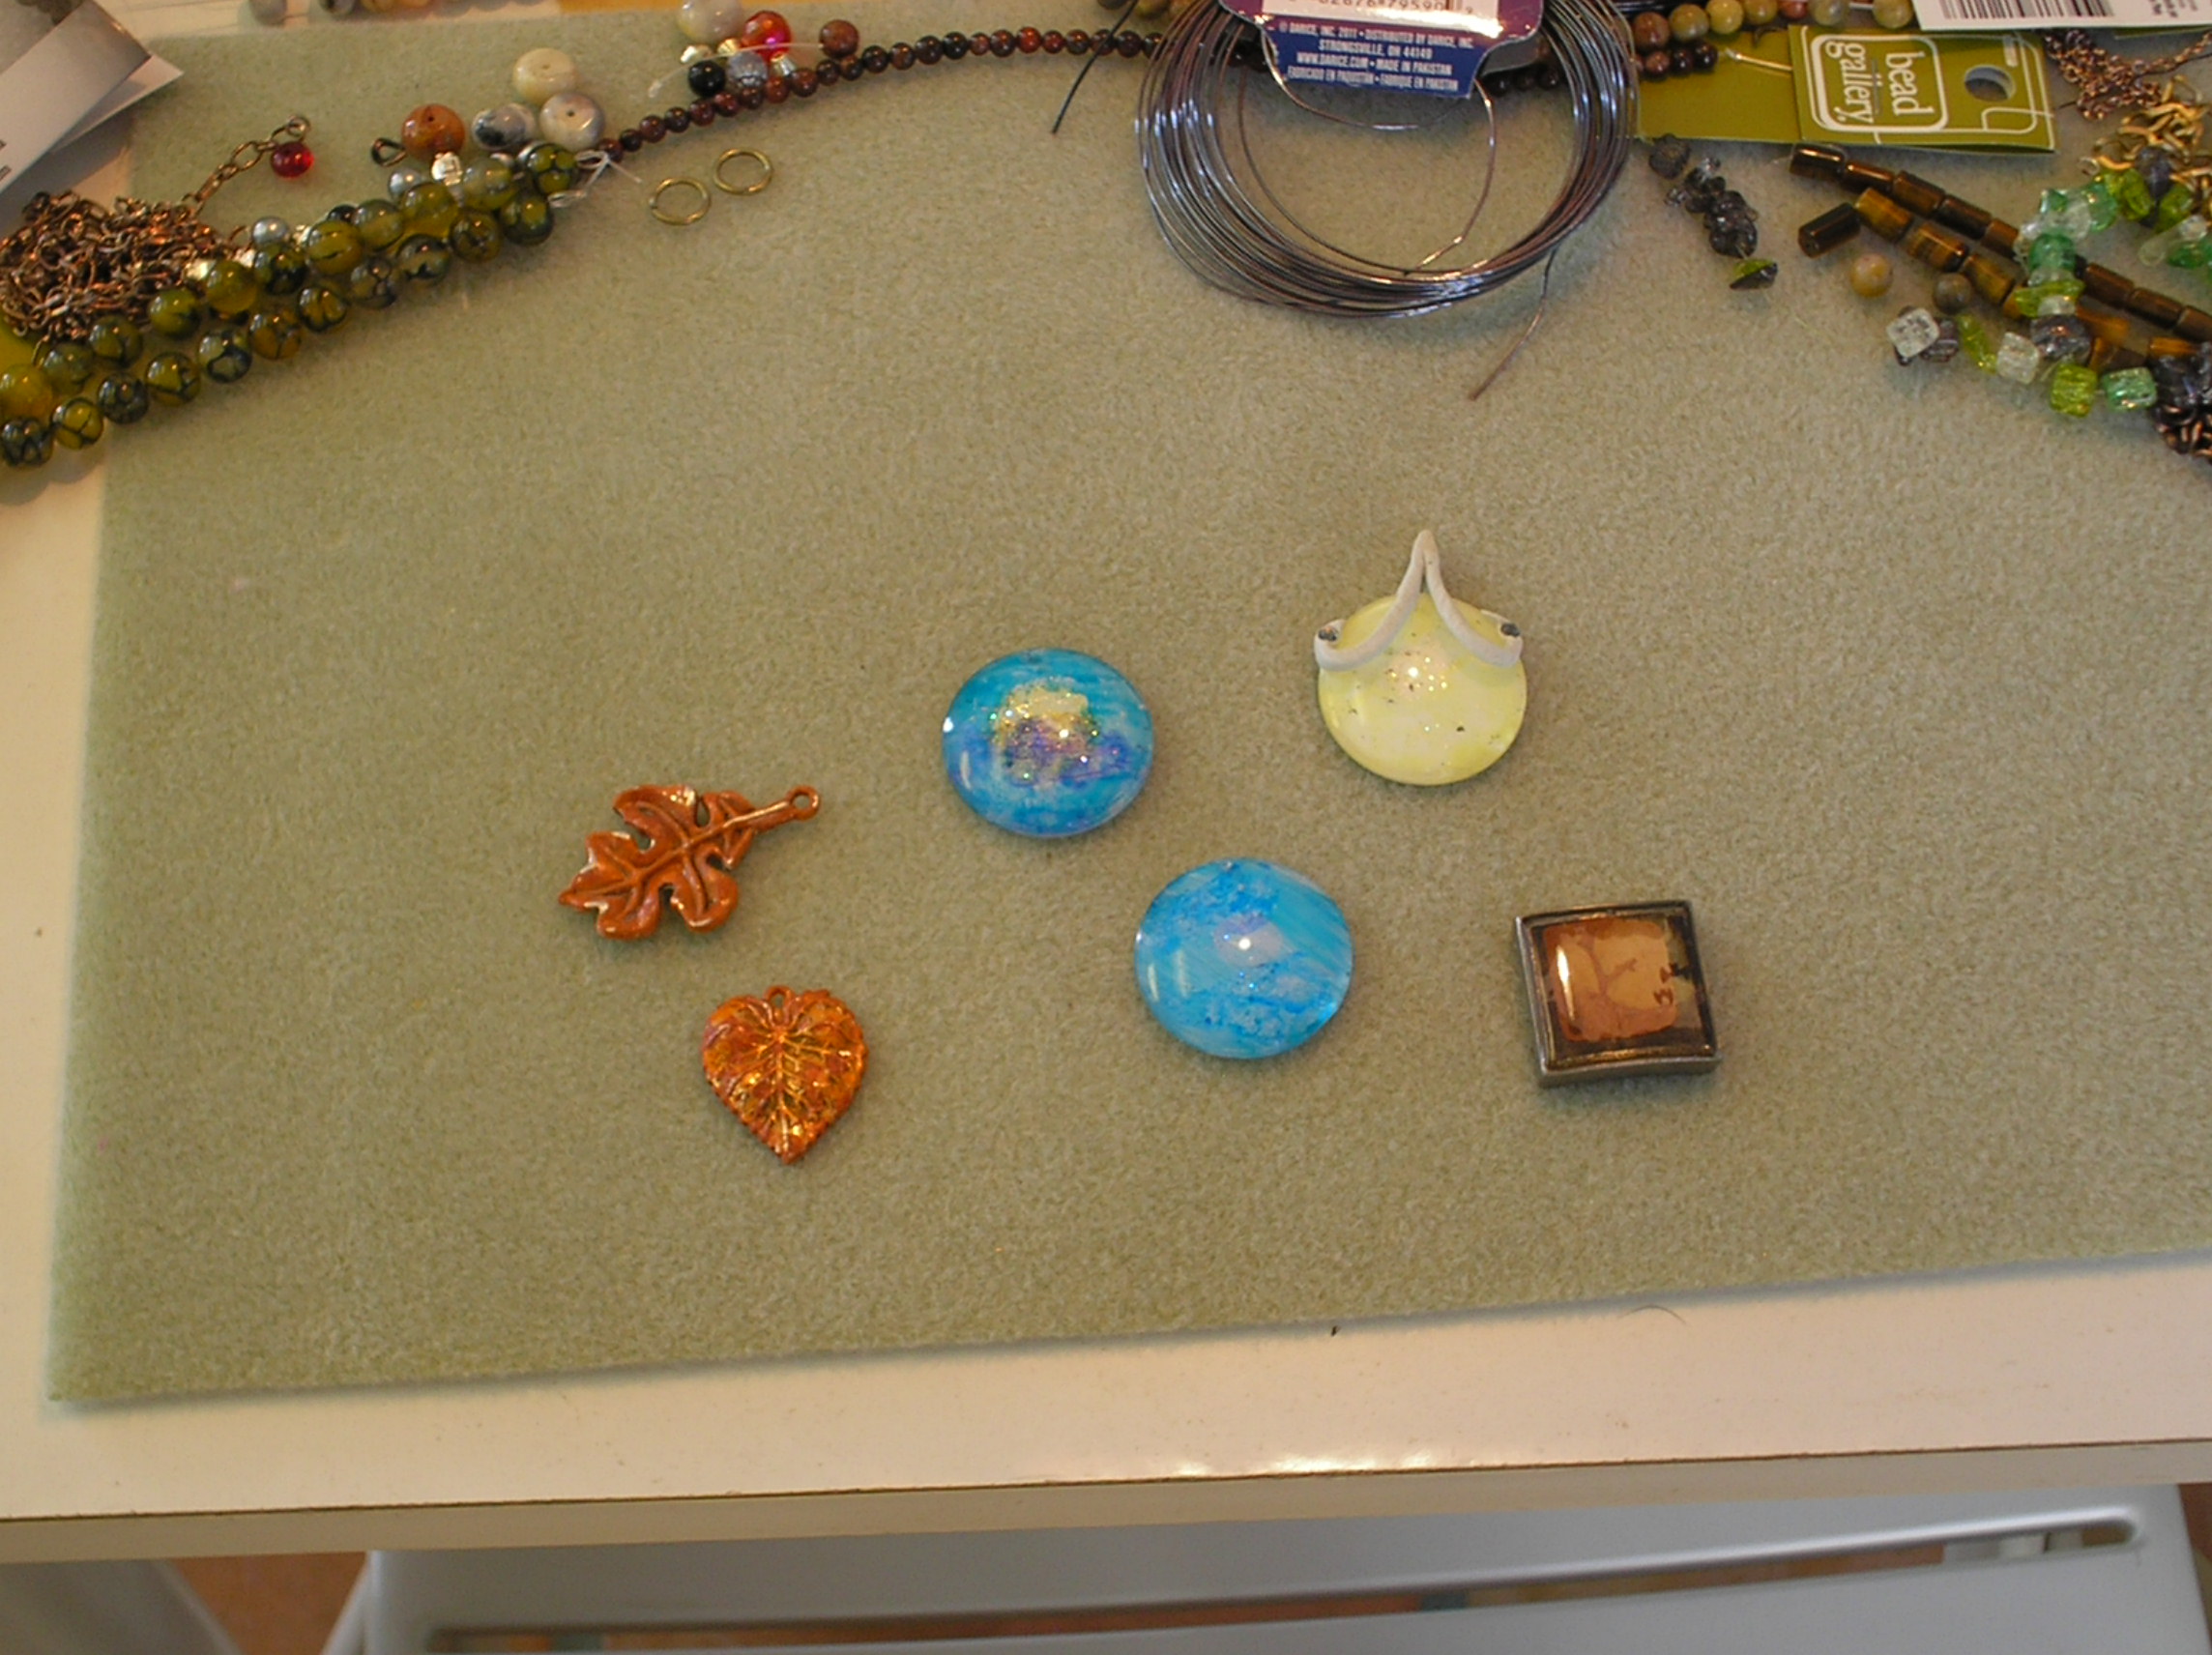
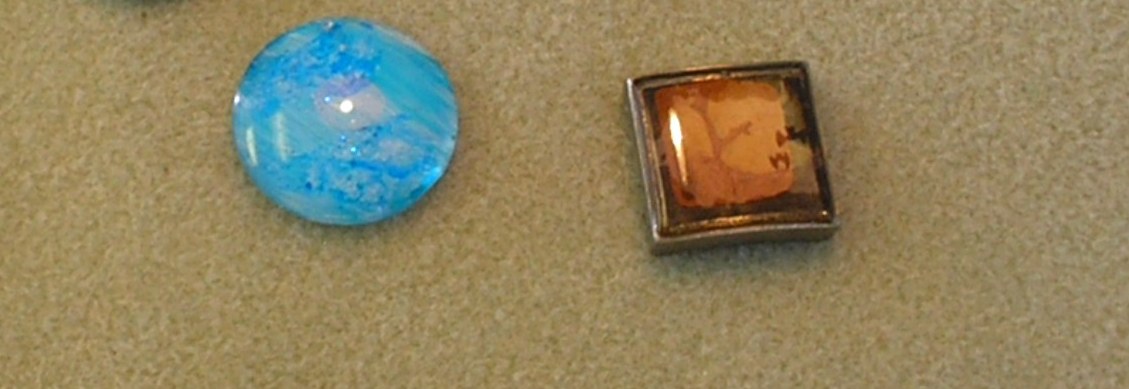
Briana: Do you have some examples of what scrapbooking is?

Tracy: Absolutely.  These are some recent layouts (a layout is 1-2 scrapbook pages).  I have lots more on my blog with close up detail photos and info on supplies and techniques I used.

Briana: Can someone teach me how to scrapbook?

Tracy: Absolutely, there are lots of options.  Now, I must confess, I learned by doing.  I never took a class, nor did I know anyone else who scrapbooked.  Heck, I had just learned about it myself.  So I went to my nearest bookstore and bought some scrapbooking magazines.  Then after reading them and devouring them (figuratively speaking, of course), I went to my local craft store and bought some supplies (careful, this hobby is addicting!  in a good way :D).  And I started scrapping!.

However, if my journey sounds scary, you can take a class.  These can be offered anywhere from a religious/spiritual center, your local craft store (big box and small business), library, school, historical society.  If you know someone who is a scrapbooker (the majority of which are women, but there are some VERY talented men out there), you can ask them to teach a class, or just teach you!  There are also numerous blogs online whose author post videos for certain techniques, etc.  And, being in the age of YouTube, there are blogs, magazines, and individual people who have a channel which you can view and/or subscribe to.  One benefit to individual scrapbookers is that they teach techniques that you may not otherwise comes across.  And they give you lots of inspiration and ideas.

Briana: Where can I get scrapbooking supplies?

Tracy: In a sense, anywhere.  However, just because you CAN get it anywhere doesn’t mean you SHOULD.  Office supplies, arts and crafts stores, big chain stores, and local scrapbooking/stamping stores; all of them carry supplies.  I’ve actually found that the big box crafts stores by me do carry some of what I need, but not most of what I’m looking for.  You can also go the online route, which opens up the possibilities tremendously.

Big box general retailers are limited in what they carry because they’re general retailers.  So, see what they carry, check the prices, and think if you’ll actually use it.  Don’t get lured by the clearance sticker of half off and pay $5 for a border punch that you’ll never use.   This is why if you can, purchase your supplies from a crafts store, a scrapbooking store if possible.  If you live out in the middle of nowhere, so to speak, your best options are probably online shopping or a consultant for a scrapbooking supplies company (yes, shameless self-promotion, I had to do a little :P)

Briana: I live in the United States, do you know anyone who I could send my pictures to for them to design a scrapbook for me, because I’m just to busy to do it myself right now.

Tracy: Why, yes I do *wink, wink.* I am happy to design a scrapbook, mini album, etc. for you.  My prices are simple and really reasonable.  I do not want any screaming wallets, thank you 😛  You can look at my blog, myscrapmuseis.wordpress.com, to check out my prices, and e-mail me at tracy . carrig @ gmail . com to get the whole party started (just delete the spaces before hitting send)!

Briana: What is your favorite thing to make?

Tracy: So far, layouts, either one of two pages.  I just finished a two-page layout for my little person’s first birthday.  I’ve start making cards, which I sell on my Etsy shop, called ScrapMusings.  And I’m starting to get into altered art, mixed media, and mini albums.  I’m loving getting messy, and I love layers.

Briana: I want to find out more about this art called scrapbooking! Show me more! Are you online? Twitter? Facebook? Pinterest? Got a blog?

Tracy: Yes, yes, yes, yes, and yes.  Here’s my stuff:

Twitter: https://twitter.com/ScrapMuse (ScrapMuse)

Facebook: https://www.facebook.com/pages/Scrap-Musings/141917992518574  (or search for Tracy Carrig (you should see a pic of me and my munchkin))

Pinterest: http://pinterest.com/ScrapbookMuse/boards/ (or look up Tracy Carrig / ScrapbookMuse, or you can just find me from Briana’s page ;P)

Etsy: http://www.etsy.com/shop/ScrapMusings (shop name: ScrapMusings)Scrapbook art by Tracy Carrig

Blog: myscrapmuseis.wordpress.co
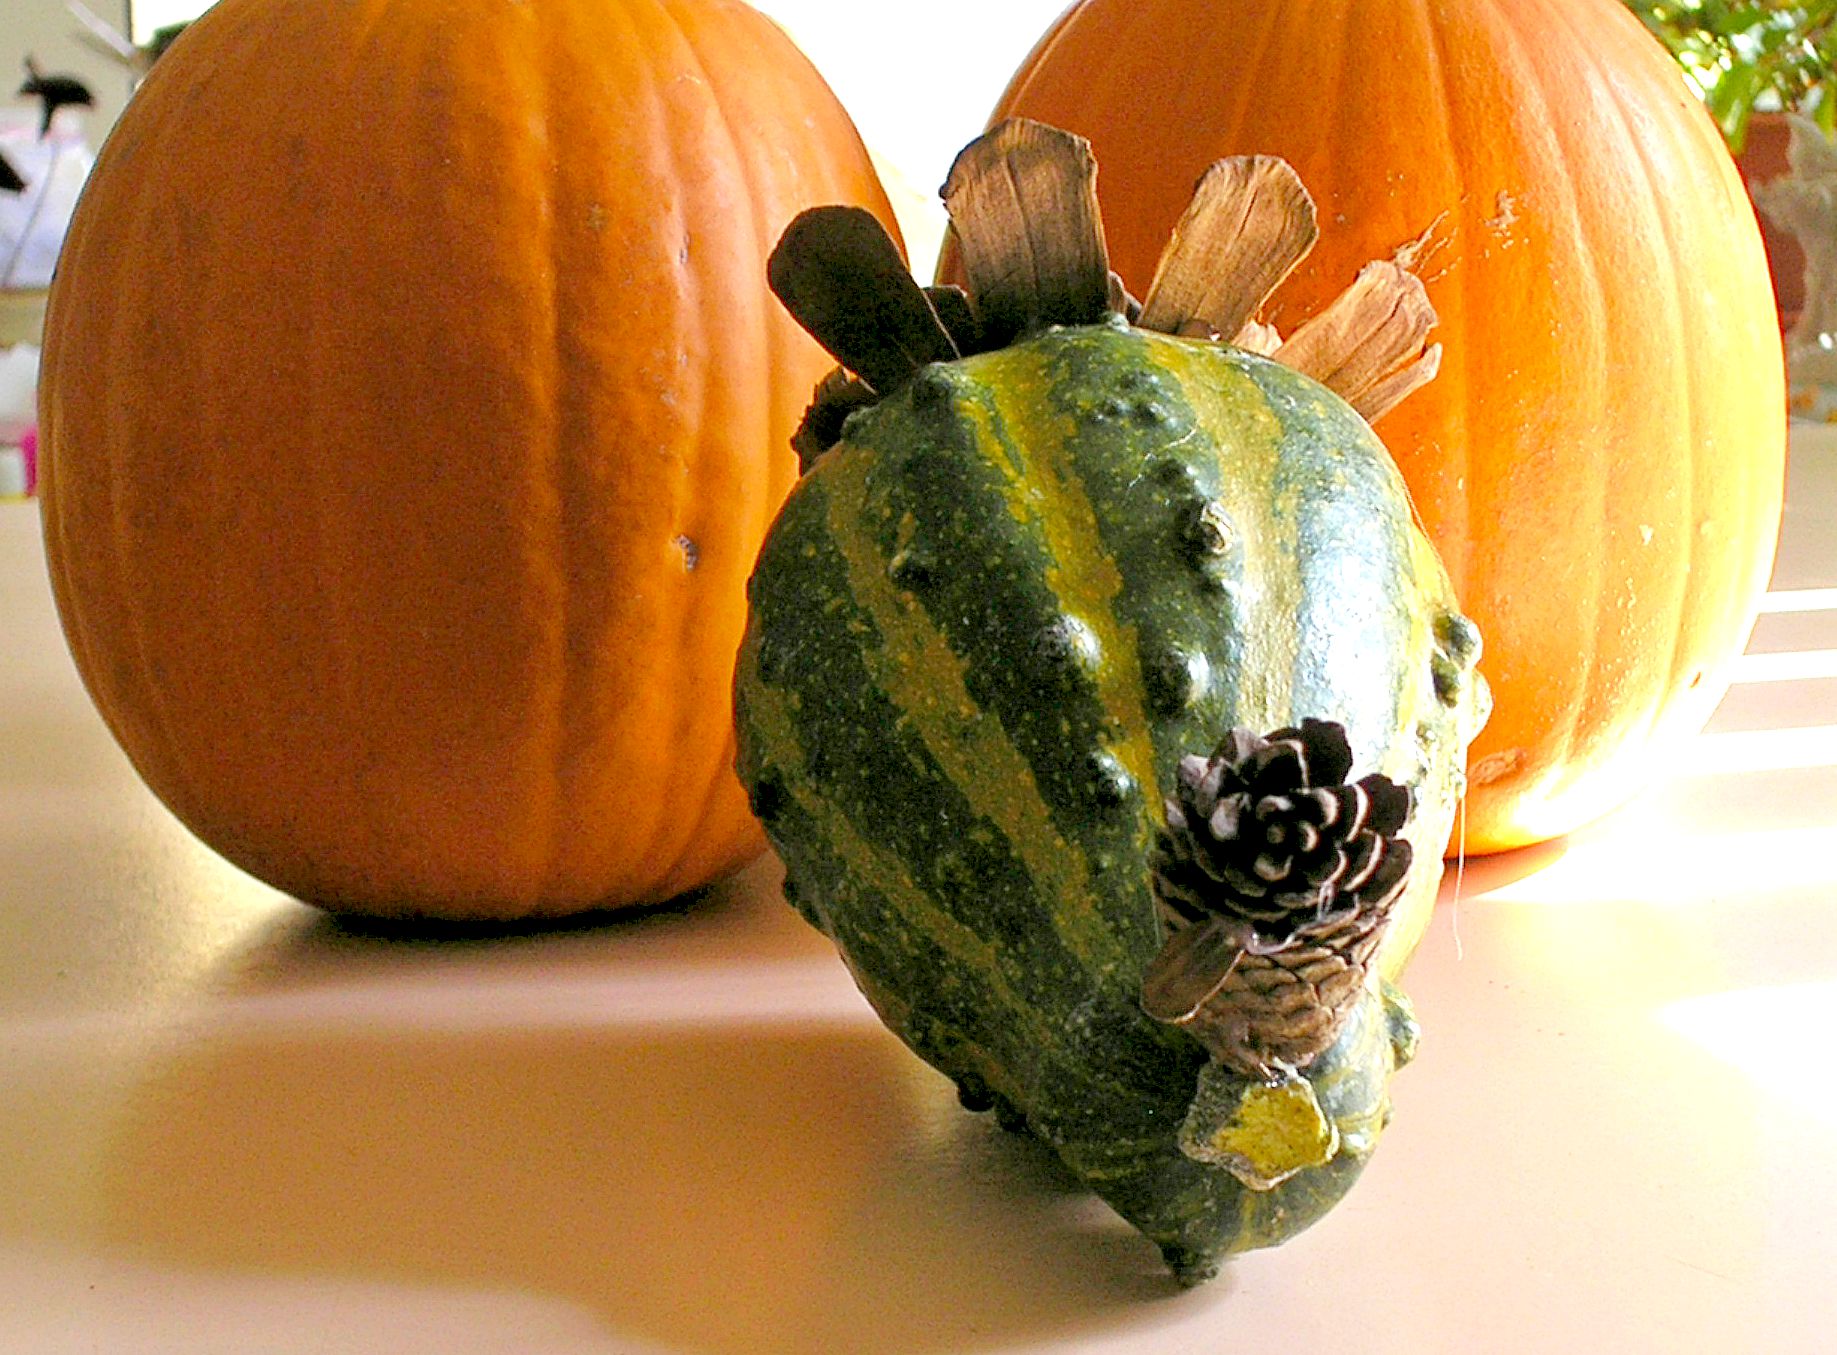
Homemade Clay: Recipe Comparison

Homemade Clay BeadsWith so many clay products available on the market why would you want to make your own clay? Well, beyond the usual arguments of being non-toxic, affordable, and available on a whim (via your kitchen pantry), homemade clay adds a special charm. Having never made clay before, I narrowed my search down to two recipes and decided to do a comparison.

Recipe #1:  School Glue Clay. I found this recipe demonstrated on YouTube by Hectanooga 1.

Ingredients:

1 teaspoon white school glue

1 teaspoon water

1 cup flour (approx.) added 1 tablespoon at a time.

Coloring—food coloring or acrylic paint (optional)

In a small cup stir the water into the school glue to blend. Add your choice of coloring until the mixture reaches your desired hue. Add 1 tablespoon of flour and mix well. Continue adding flour a little at a time. Once the dough begins to stiffen you can take it out of the bowl and work it with your hands.

Continue kneading flour into the dough until the dough is no longer sticky, then work the dough until smooth and no longer “grainy.” Wrap the dough in plastic to rest–about one hour. Once rested, knead again to condition the clay. (You can view a demonstration of this recipe on YouTube.) Homemade Glue Clay

Air-dry your finished pieces for about an hour before baking. Bake at 200-225 for 15-20 min. Turn off oven and let them sit for a few minutes.

(I used acrylic paint for coloring. My items air dried for 90 min and baked on center rack for 20 min.)

Recipe #2: Salt & Flour Clay. This recipe is from Anne Marie Helenstine, PhD at Chemistry.com. Anne offers six recipes; this one stated it was good for hardened sculptures, jewelry, and ornaments.

Ingredients:

4 cup flour

1 cup salt

1 ½ cup water

In a large bowl combine the flour and salt. Slowly mix the water into the dough until dough is ready to knead. Knead until all flour is combined. Bake Homemade Flour Clay in Gallon Bagfinished pieces on non-stick pan at 350 for 1 hour.

(My items air dried for 45 min. and baked for 30 min. I removed them early as they were turning brown)

Comparison:

Clay #1 made small, hand-sized batches. It took some time to knead in enough flour so that dough was no longer sticky. The consistency while kneading was somewhere between Playdoh and Silly Putty. It had a bit of elasticity. I found that moistening my fingers while working helped combine colors (for caning). You could probably sculpt small items with this clay, it’s pretty sturdy.

The “Glue Clay” held color after baking, even the batch made with metallic paint. Right out of the oven it offered a smooth, finished look. This recipe is good if you only want to make small batches, if you want the clay to have a base color, or if you want to skip painting altogether.

Clay #2 makes a big batch—think pizza dough! It took a bit of work to knead in all the flour. This one is rather grainy and doesn’t smooth out as well when working. Although you can make beads and pendants with this clay I don’t recommend it for sculpting unless you have an underlying support–it tends to sag while you’re working. Some of the items began to “puff” up while baking. Once removed from the oven the items resembled crackers.

After baking, the “Salt & Flour” clay retained a rough textured, rustic appearance. I like the way some of the pieces look aged or worn—sort of a funky vintage look. Some of the pieces began to get a little “gummy” while painting but firmed back up when the paint dried.

The second recipe is perfect for a rainy day with kids! Just make a big batch, roll it out, and let the kids use your cookie cutters. You won’t have to worry if they feed some to the dog (or themselves).

Homemade Clay Beads FinishedOnce baked the finished items from both recipe are surprisingly durable. I used an emery board to sand any rough edges, applied paint to a few items, and sealed all pieces with an acrylic sealer.

Have you ever made your own clay? Do you have any clay recipes to share?